Slider

How to Grow the Most Amazing Geraniums in the Greenhouse

Friday, October 7, 2022


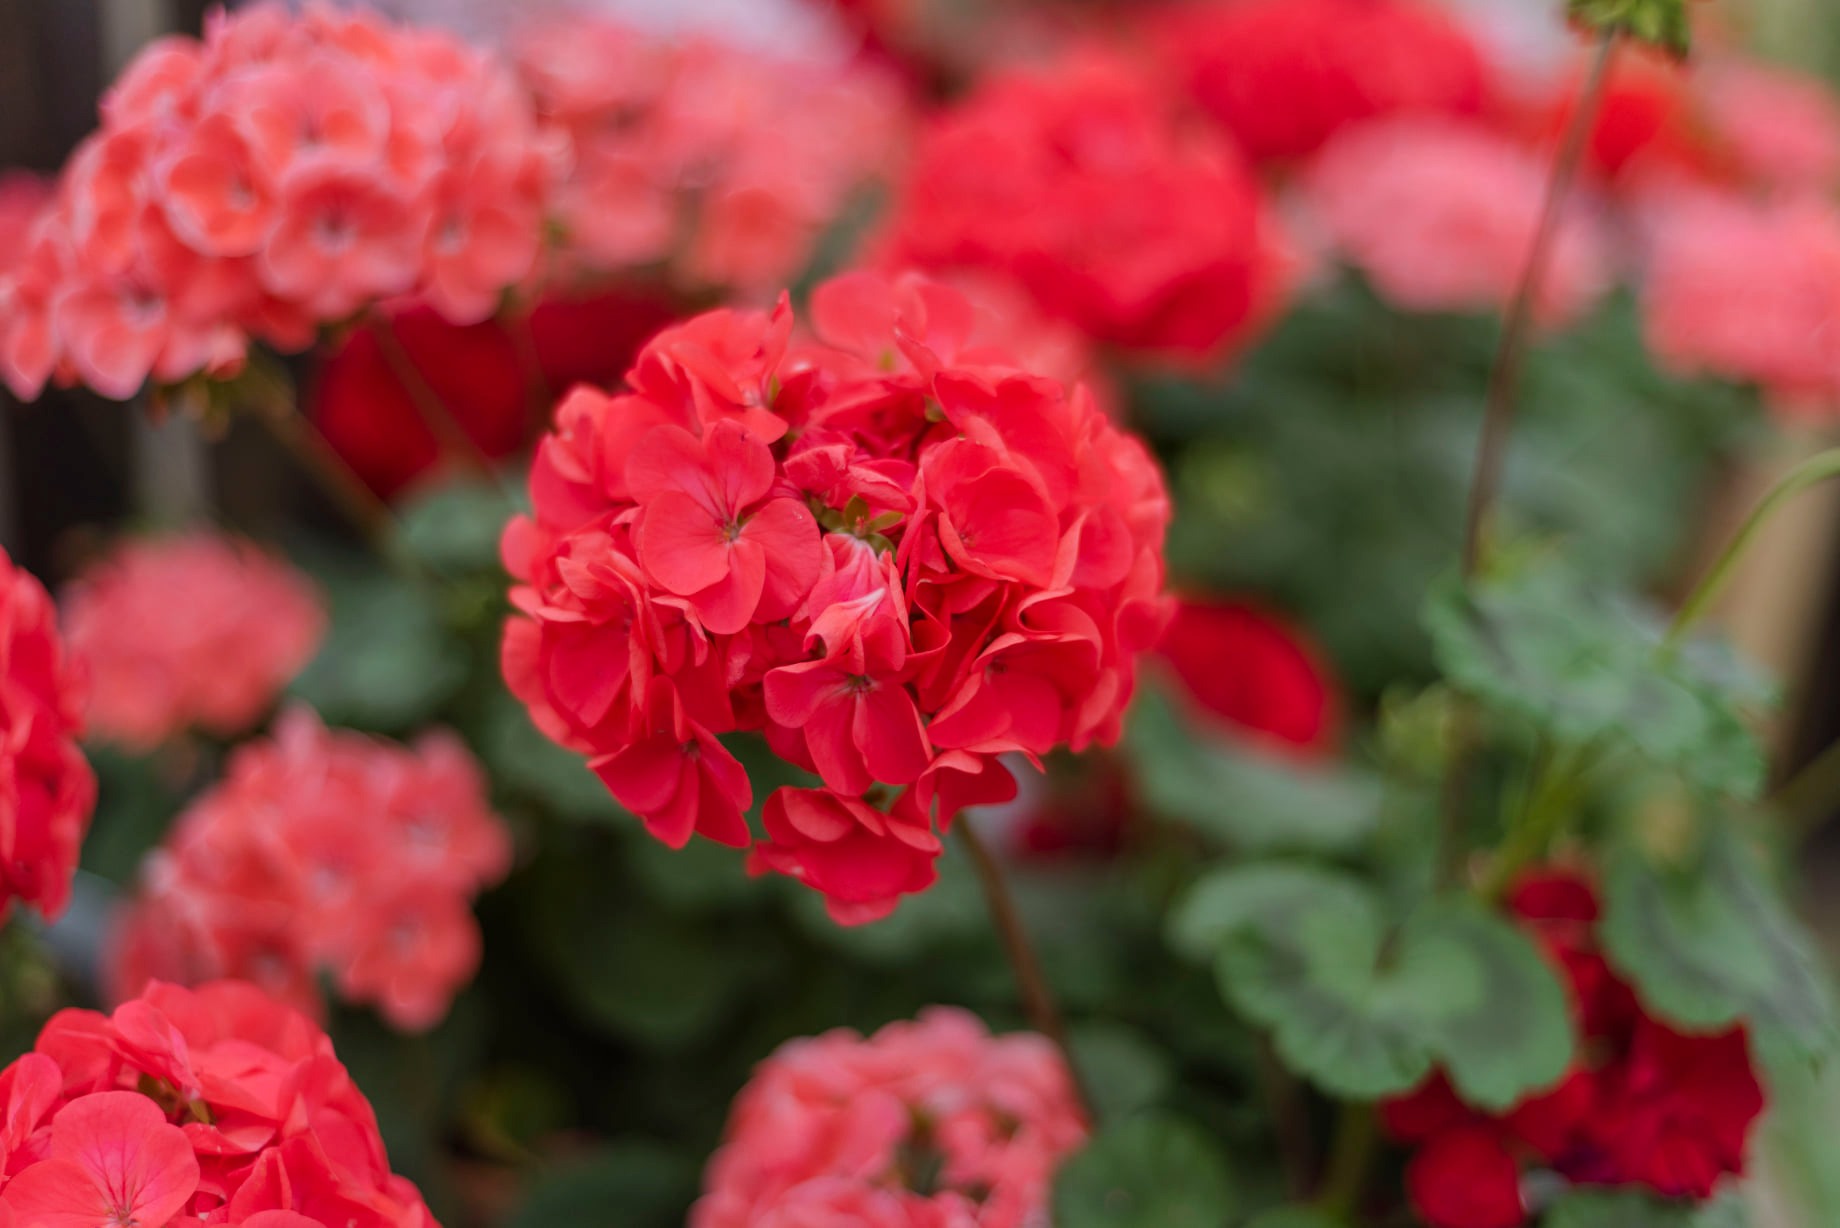
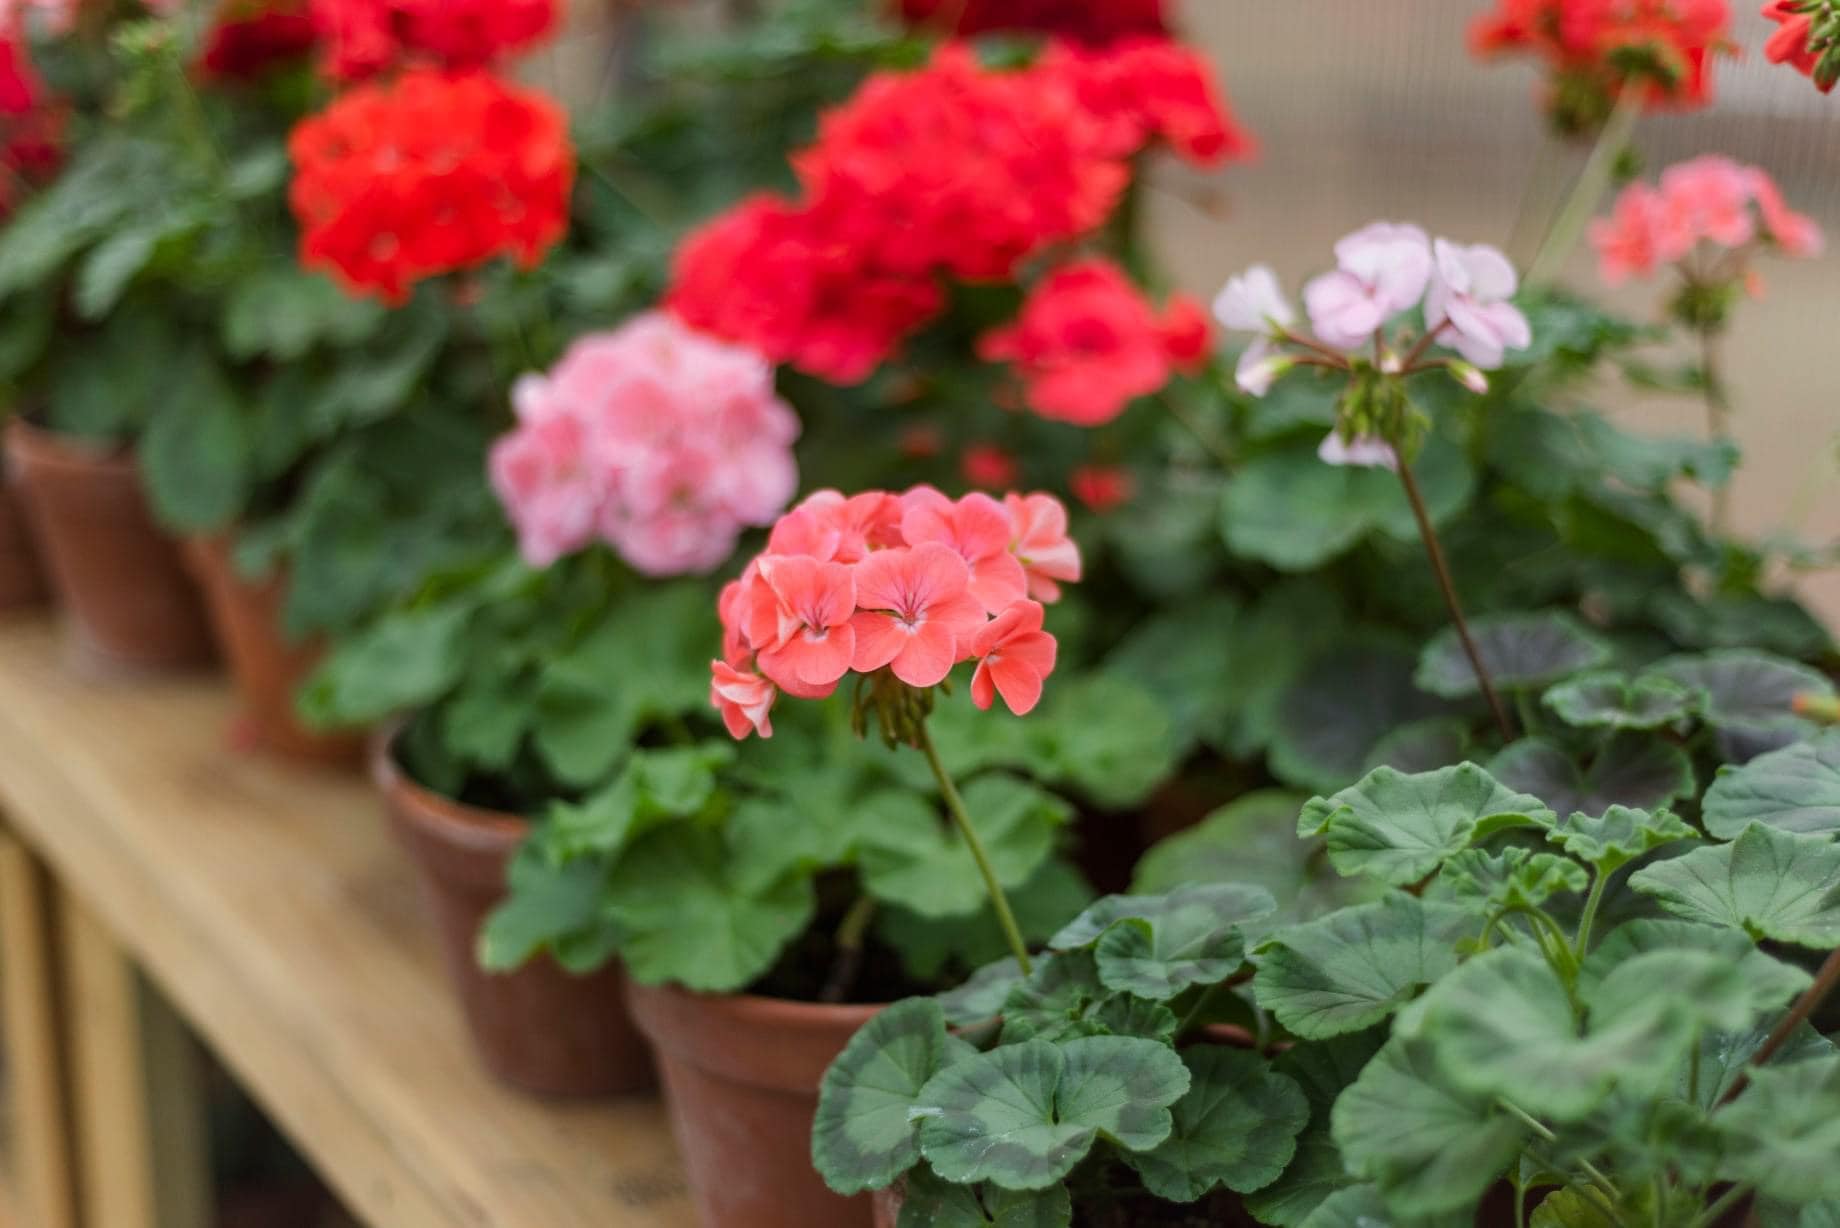
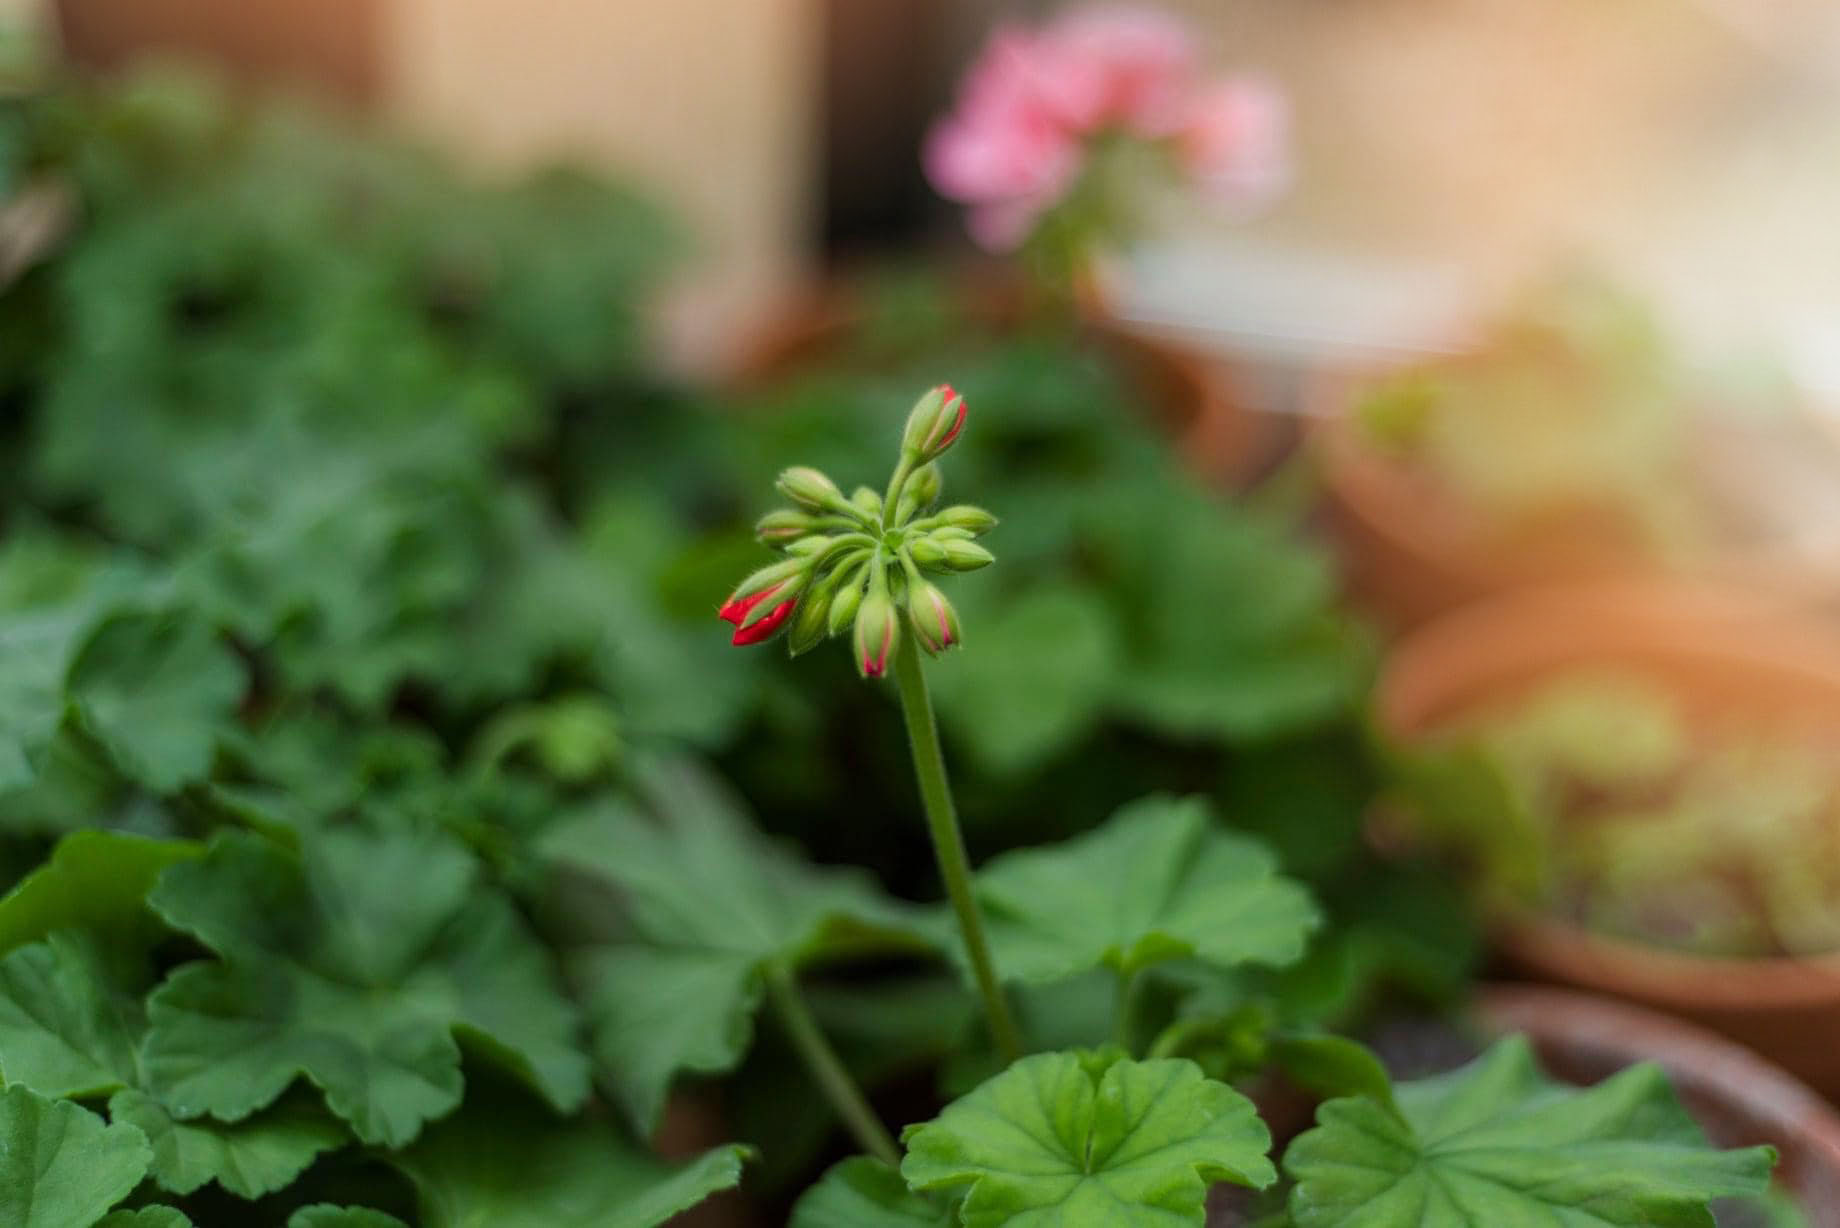
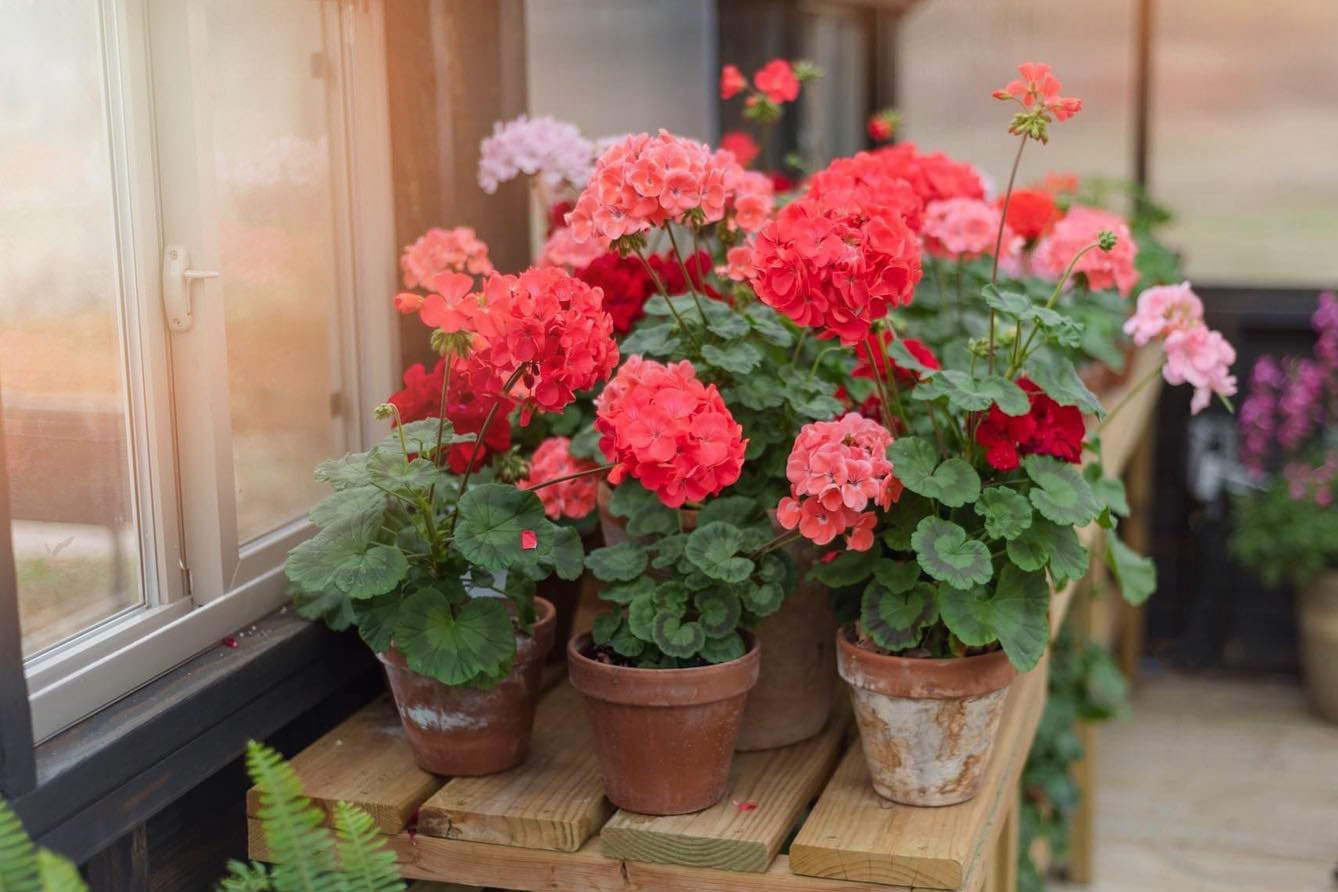
Geraniums in a Greenhouse

A dreamy greenhouse, enormous geranium blooms, and aging terra cotta pots.......OH MY! 


I stumbled upon a love I didn't even know I had until I stepped inside my greenhouse.  I've always been drawn to English greenhouses filled with terracotta pots overflowing with pink geraniums. 


This led me to discover that geraniums were my favorite WINTER flower to grow. 


Winter.  

Geraniums in the Greenhouse


Let that sink in. 


Geraniums in the Greenhouse

This new journey for me began in the winter of 2020. I started gathering my seeds which I will say, were hard to get my hands on. I wanted to duplicate the color palette in the photo from Pinterest. I had some seeds in this color selection of reds, pinks, and corals, and I was able to order easily; some not so much. And for those, I had to pay more to get my hands on them.

Geranium Seedlings

Geraniums in the Greenhouse

Geraniums in the Greenhouse

Geraniums in the Greenhouse

Geraniums in a Greenhouse

Geraniums in a Greenhouse

You can save your seeds from your geraniums, but the most exciting thing of all is that once you have your established plants from seed, you will then have an unlimited supply of plants to take cuttings from if there are no propagation laws forbidding such on your seed packet.

It's such an easy process!

The thing I was unaware of was the fact geraniums LOVE a greenhouse environment. And, thankfully the greenhouse is a very forgiving space.
So that first winter, I grew my little seedlings and quickly learned they are S-L-O-W growers. Completely worth the wait, but I did not anticipate the growth to be so slow. And, let's be honest, waiting on that very first bloom was almost painful.

But, again, SO worth it!

Geraniums in a Greenhouse

Geraniums in a Greenhouse

Although growing seeds is just fascinating and fun, I quickly learned that taking starts from cuttings is so much faster to get you to those mature and blooming plants. So, that is my absolute go-to. However, there is still something special about a seed tray full of seedlings, so I will likely continue to grow at least one new tray every winter.


Typically if you have a greenhouse, your geraniums get tucked inside to overwinter in order to keep them safe and protected so you can use them again the next year. Most people will opt to let them go dormant. When I brought my geraniums (all grown from seed) back into the greenhouse at summer's end, I prepped them to do the same and took new cuttings to start.

But, within a few weeks, I started dreaming about....what if.....

What if...I could actually have a greenhouse filled with blooms and vibrant colors in the dead of winter with frigid outdoor temperatures, snow on the ground, or freezing rain pelting the roof. It was still a dream, or so I thought.

At that point, I completely switched up my game plan. What did I have to lose? Instead of just trying to keep them alive throughout winter for spring, I began nurturing them to have the possibility of bursting with blooms.

It worked well; beyond my greatest expectations.

To date, I have never seen healthier geranium plants, bigger blooms, or more vibrant colors.
Once they reacclimated from being outside in the heat of summer to the protection of the greenhouse I started being more attentive even adding some diluted fertilizer to them.

Geraniums in a Greenhouse

Geraniums in a Greenhouse

Geraniums in a Greenhouse

Geraniums in a Greenhouse
They took off and never looked back. Nor have I. This has become a winter staple for me and will have a permanent place in my greenhouse.

It was truly better than I ever imagined! I would walk into the warm and cozy greenhouse with snow on the ground to be greeted with an explosion of HUGE blooms of color.

It was beyond dreamy!

Geraniums in a Greenhouse

Please let me know of any questions you have about growing geraniums in your greenhouse in the winter months in the comments below!

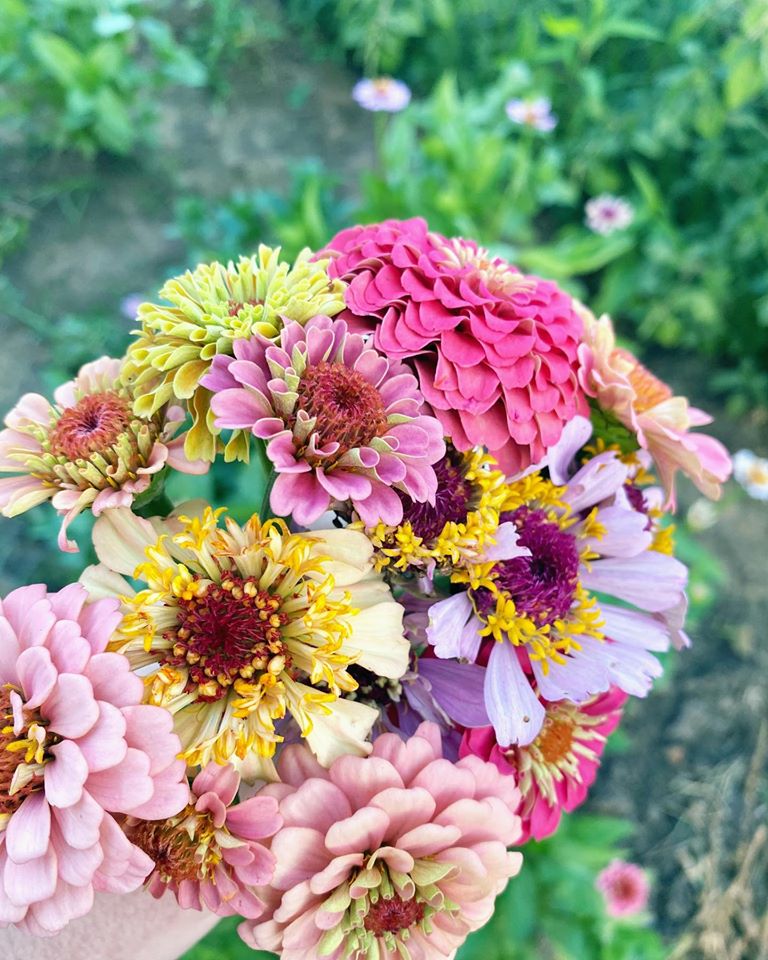
How to Grow Zinnias

Friday, July 8, 2022


Zinnias

Zinnias = sweet summertime. 


It's the perfect summer flower to add to your gardens, containers, and vases. 


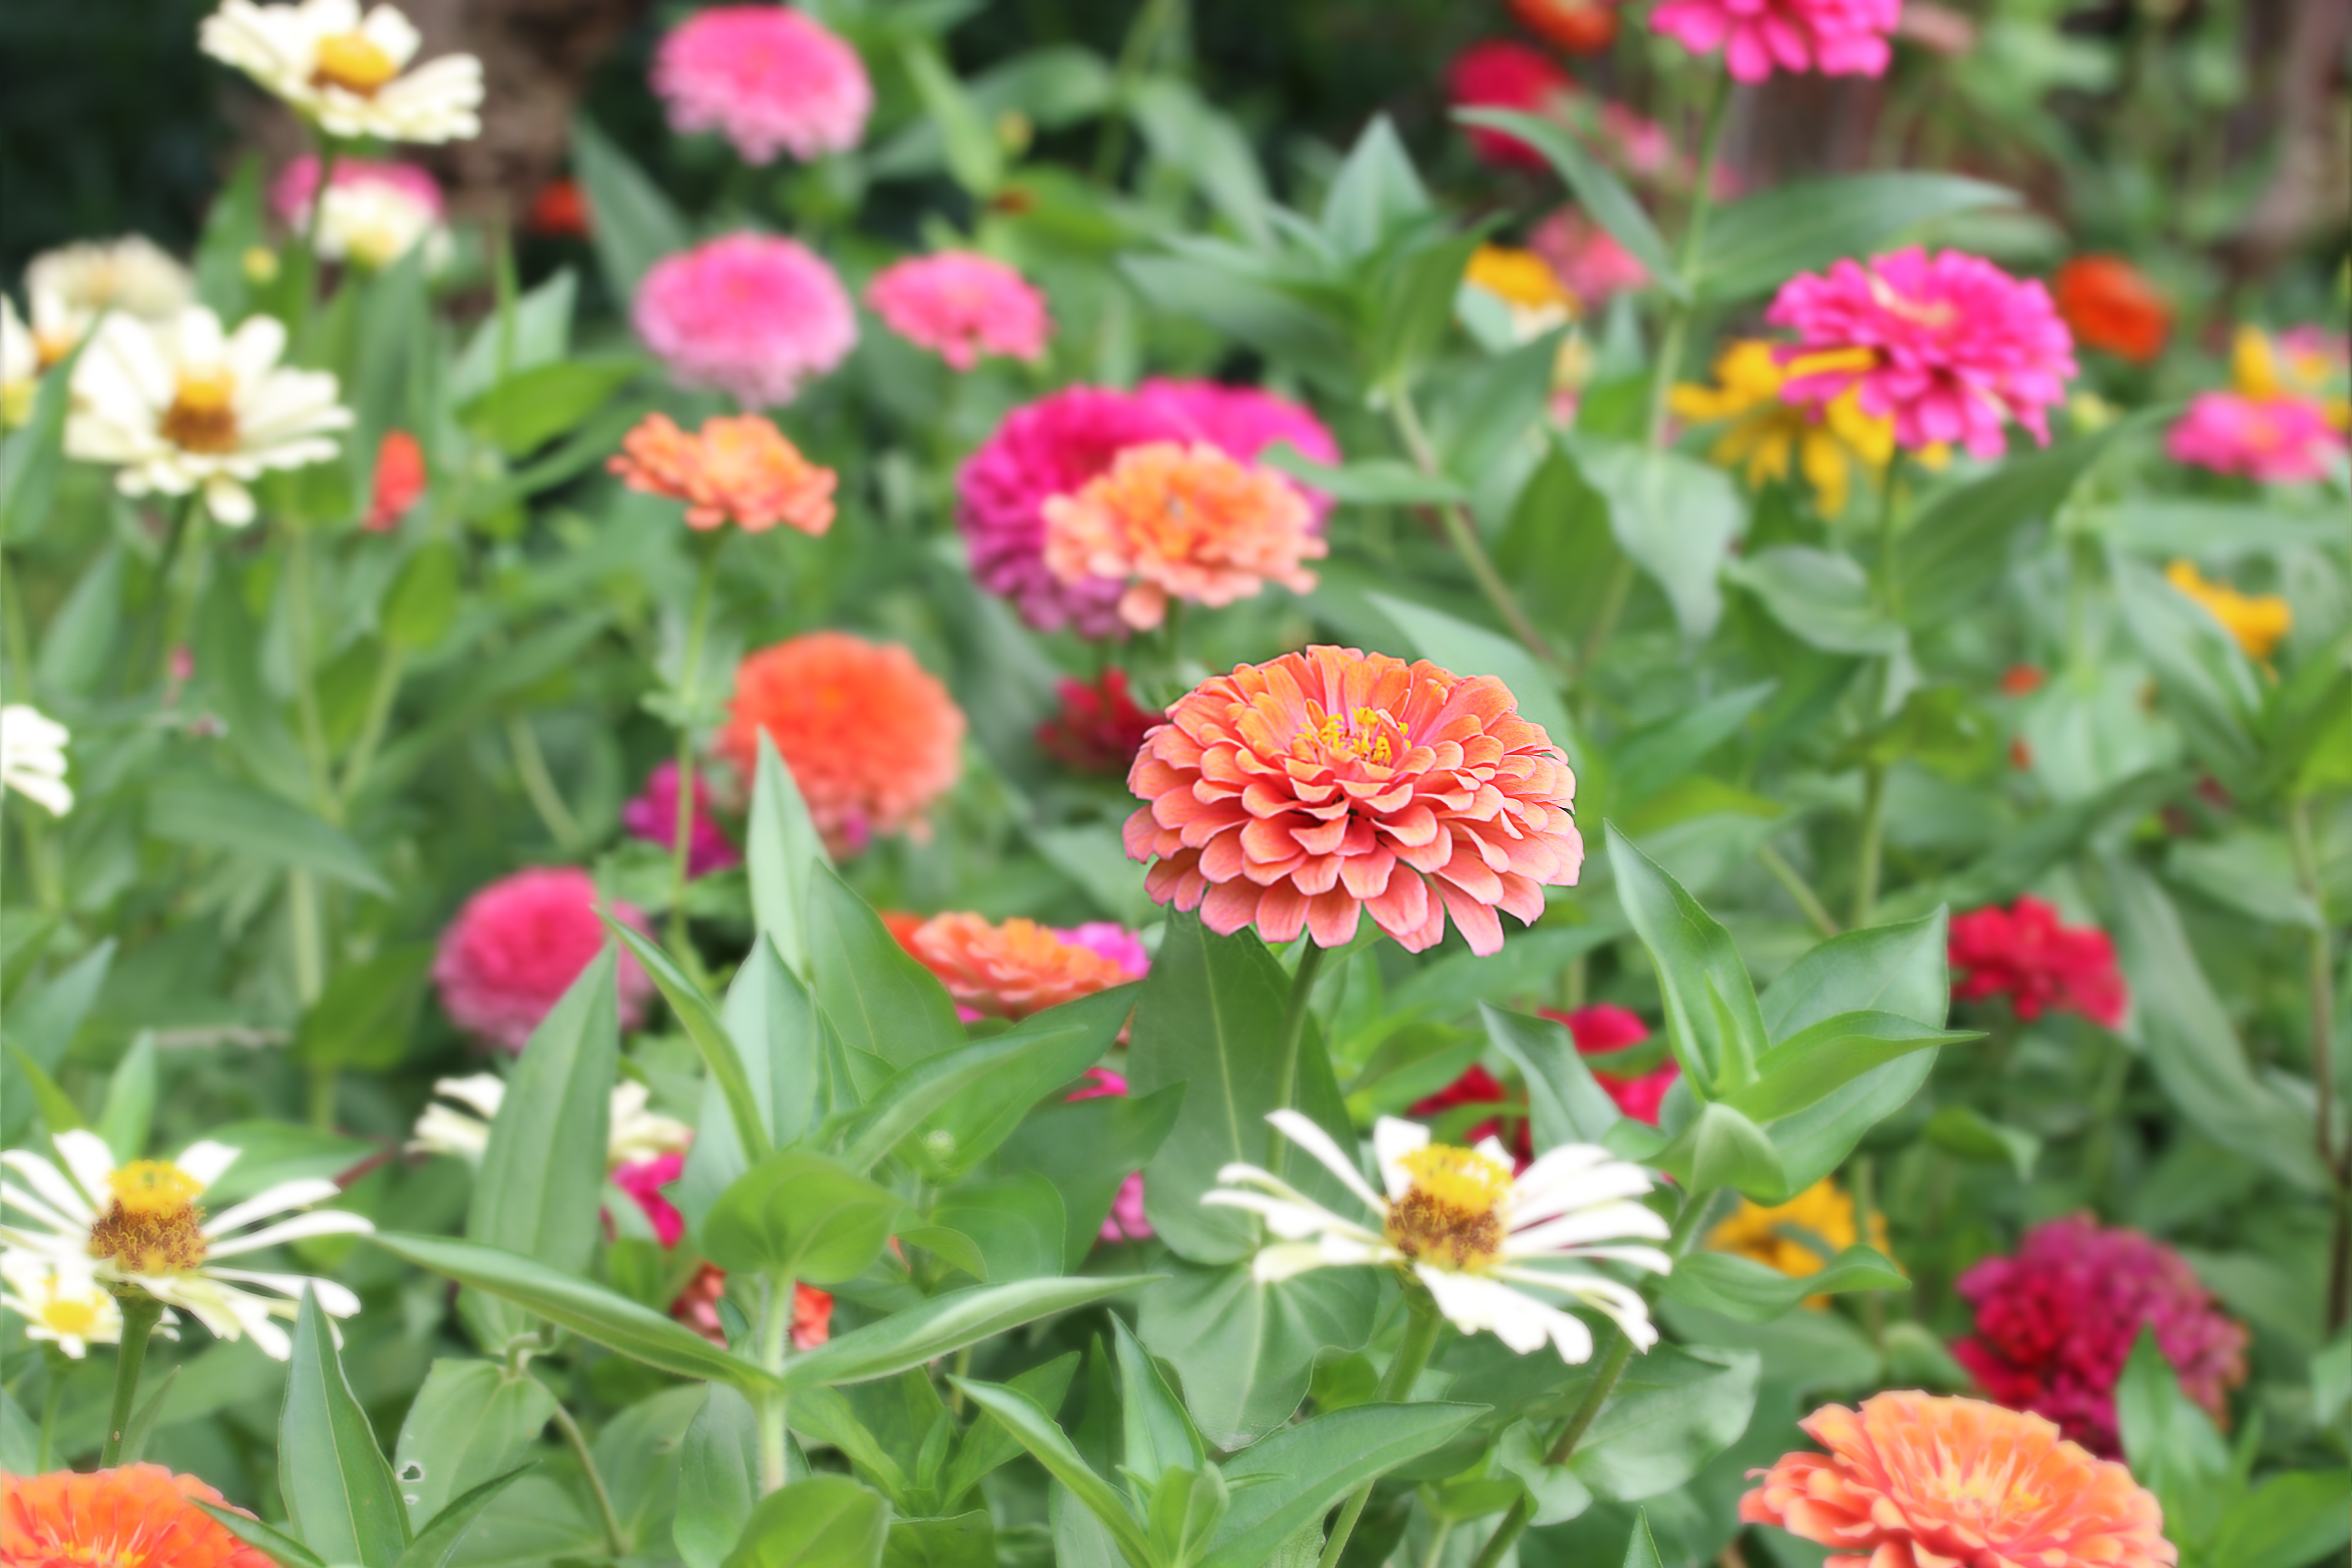
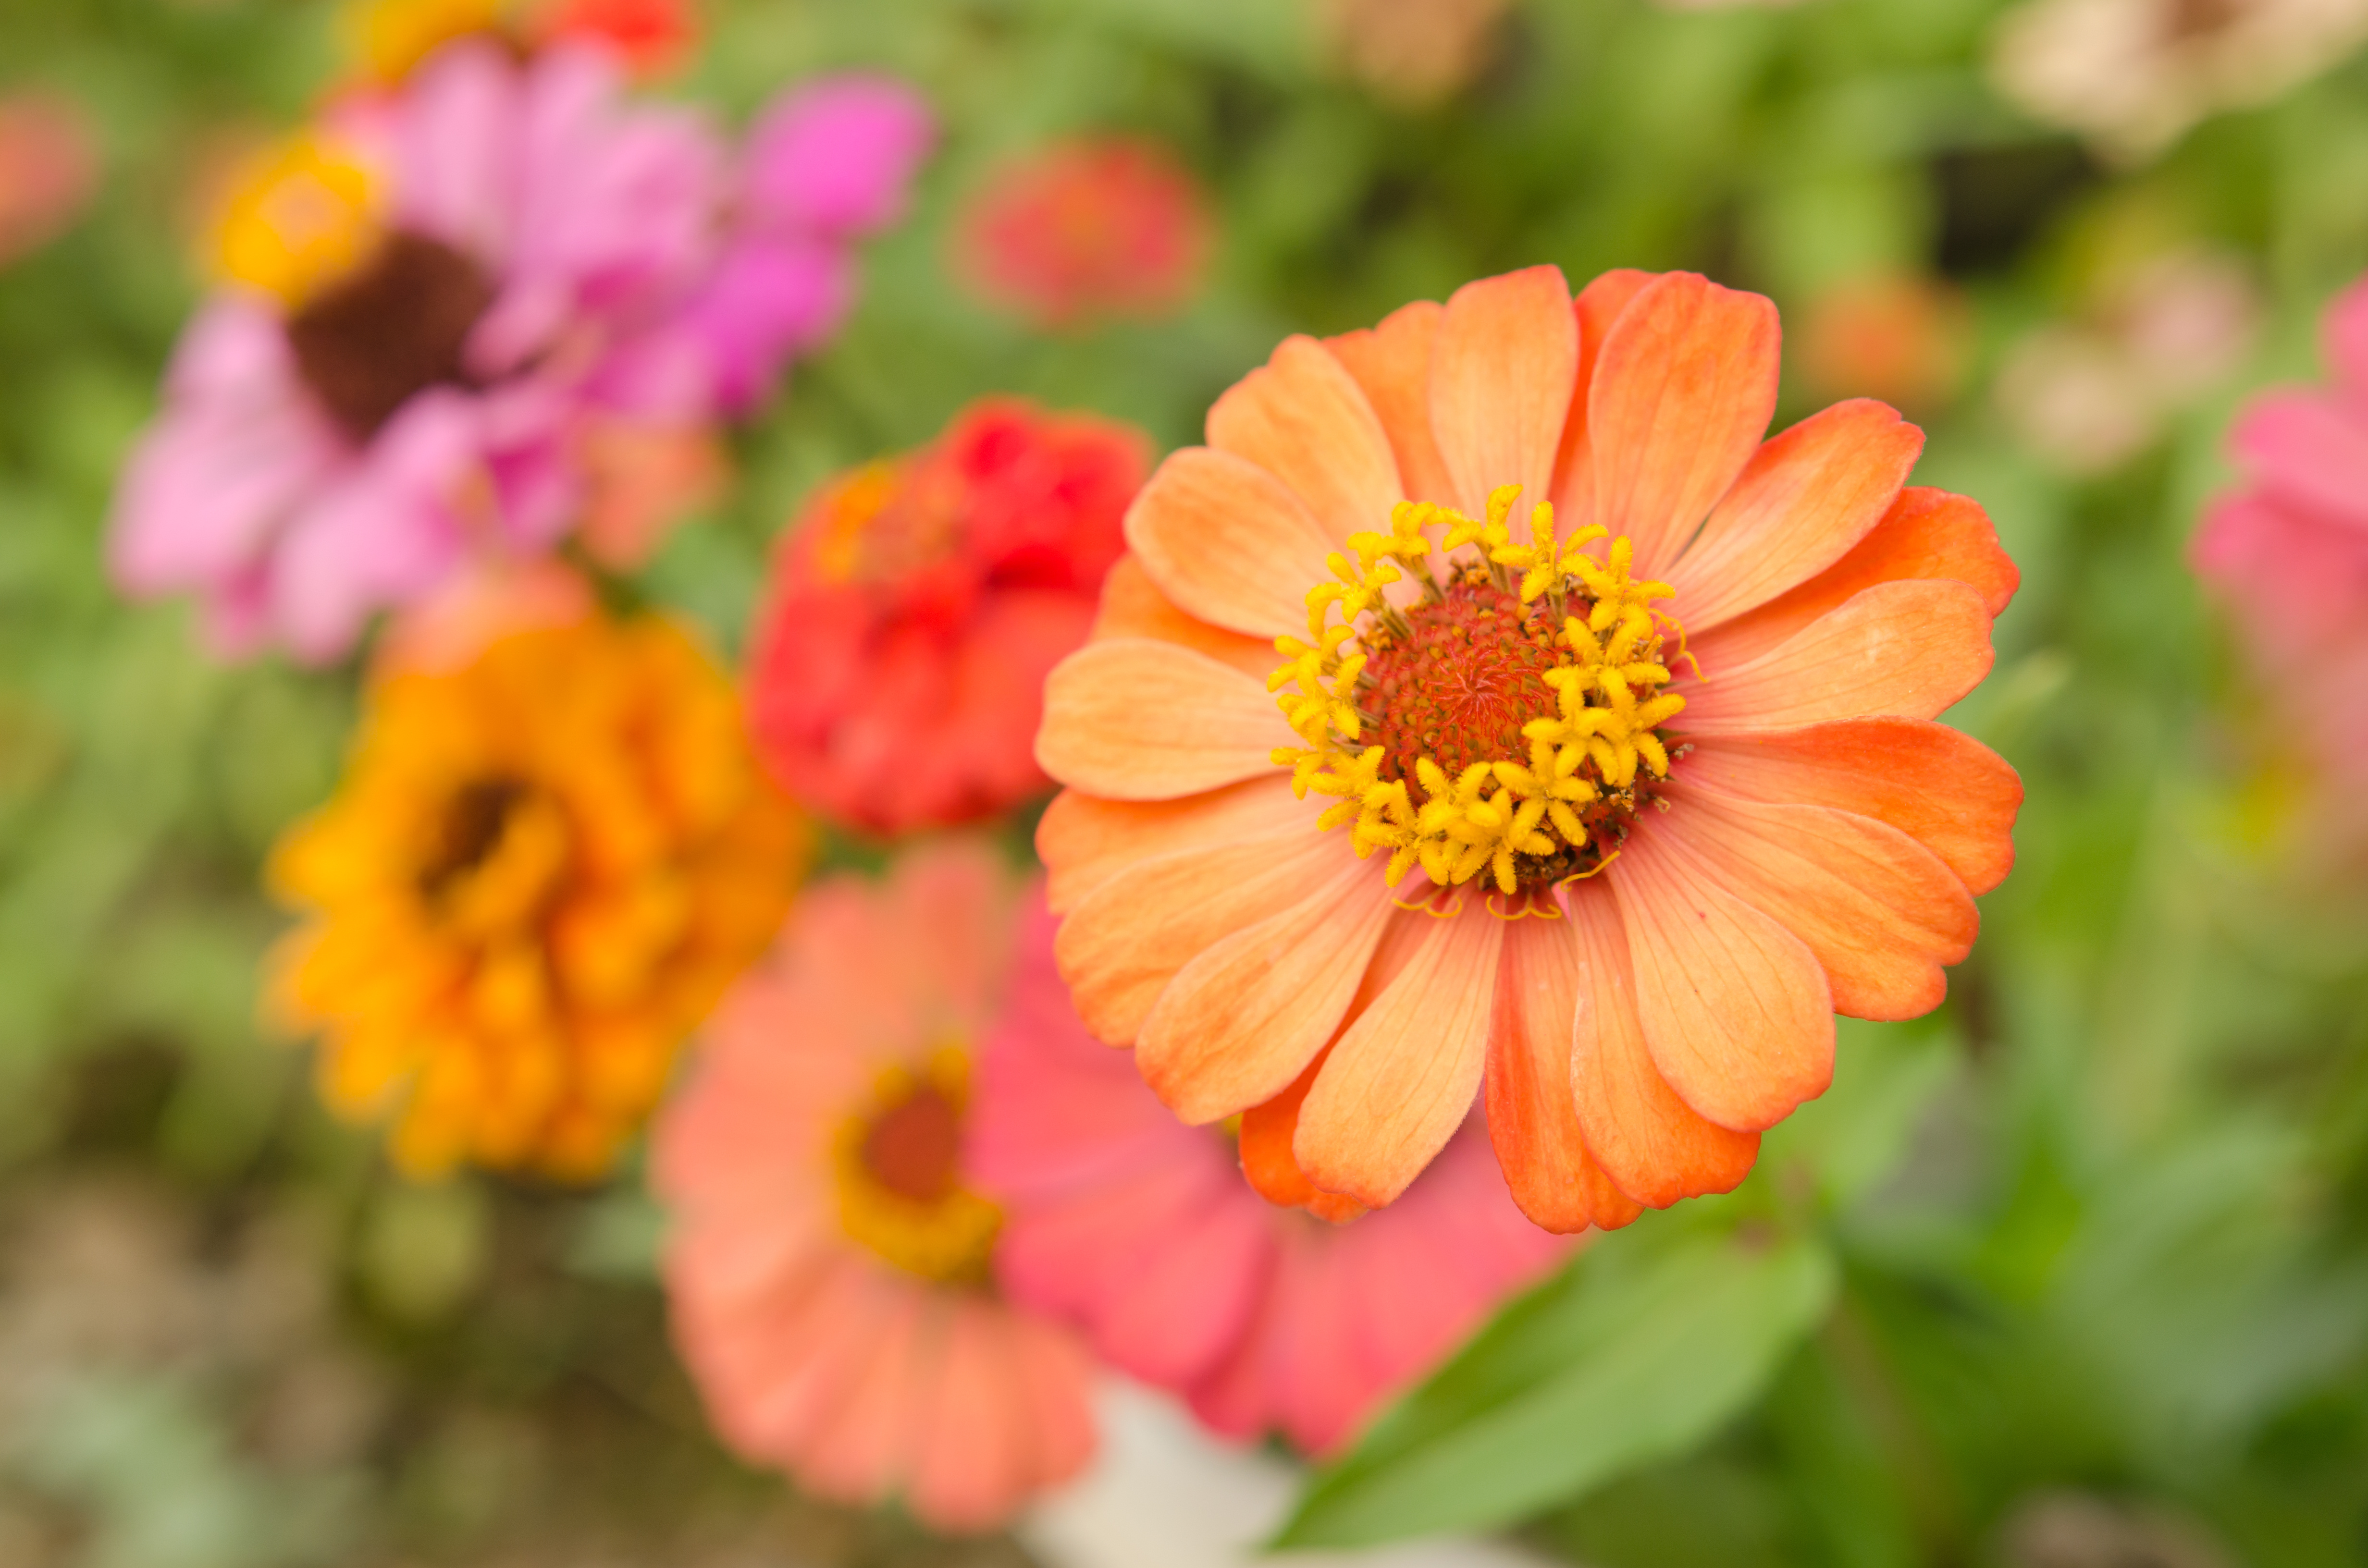
They come in an incredible array of colors in all shapes, sizes, and many varieties. They are so easy to grow! They aren't fussy and are incredibly low maintenance. You can fertilize them, but you don't have to. 

Zinnias

Zinnias

They are a cut and come again flower, which means you cut them, and they will bloom again. The more you cut, the more flowers will develop and bloom. They will give you a beautiful show until the first frost arrives. They are great to try as a beginning gardener but also to enjoy year after year as someone with experience.....


you can't go wrong by adding these to your garden. 


Even though I've grown them for years, they still stop me in my tracks. Each flower can house so many details - they are pretty magical! 


Although you can directly sow them outside once the danger of all frost has cleared and the soil is warm, I opt to start mine in my greenhouse for several reasons—the obvious, earlier blooms. But the main reason for me is due to losing entire zinnia patches from spring rains. As a result, hundreds of seeds have been washed away—more than once during the same spring. By transplanting an actual plant, they withstand those rains much better.

Greenhouse Zinnia Seedlings

They can be started 4-6 weeks before the last frost. I am in Zone 7b and occasionally have very late frosts; my seed tray planting week every year beginning on April 20th. They will germinate in 3-7 days in the greenhouse. Make certain you have the area that you will transplant them in is ready to go when it's time to move them out. 


If you opt to direct sow, plant them in good soil about 1/4" in-depth and cover lightly with soil and water well. They are perennial, but they will reseed themselves in certain areas and surprise you with new plants the following year. 


I recommend spacing them by the seed packets instructions as this will give them their best, optimal start. Zinnias LOVE the sun and the heat that comes with it. Plant them in full sun areas, and they will be happy plants. To ensure you have blooms that last until that first frost, you can successively plant them. Some years I've done that, and some years I haven't; I still had gorgeous blooms until that first dreaded frost. 


They are also a plant that you will want to pinch as soon as they reach 8-12 inches tall to encourage a bushier, more prolific plant. Who doesn't want more blooms? This can be hard to do, as you know that snip will delay your first blooms, but trust me. Pinching them back will encourage the plants' energy to be redirected to below where the cut was made. As a result, they will send off more shoots that will produce more blooms. Once they bloom in about 4-6 weeks, the more flowers you cut, the more flowers you will have. 


It's AMAZING. 

Zinnias

Zinnias

They have always been deer resistant for me; trust me; I have deer that are overachievers in garden destruction. The pollinators LOVE them and can give you quite the show on summery days. If you opt to keep the blooms in your garden and not cut them, make sure you do dead-head, as this can slow down bloom production if you don't. 

Zinnias

Zinnias

Zinnias

Zinnias

Zinnias

The only negative I can think of is they can get powdery mildew. For me, that happens when I plant them too close and will show up either in late summer going into fall. The humidity, lack of hair flow, and overhead watering can contribute. Keep them watered, but not overwatered. They will start developing brown spots on their leaves.


So, plan to plant zinnias if you don't already. If you do, explore different varieties. As they've risen in popularity over the past few years, make sure you get your seeds early! Certain types and companies can sell out on their opening launch day.   I tend to order certain varieties and colors; however, if you don't want to go to that trouble, just pick up a pack at a local garden center. 


You won't be sorry.  

Zinnias

Zinnias


Starting Tomato Cuttings in a Greenhouse

Thursday, June 9, 2022

It's one of my very favorite gardening activities to do. Yet, I feel like it is often overlooked or just not known about - the wonders of propagation. 

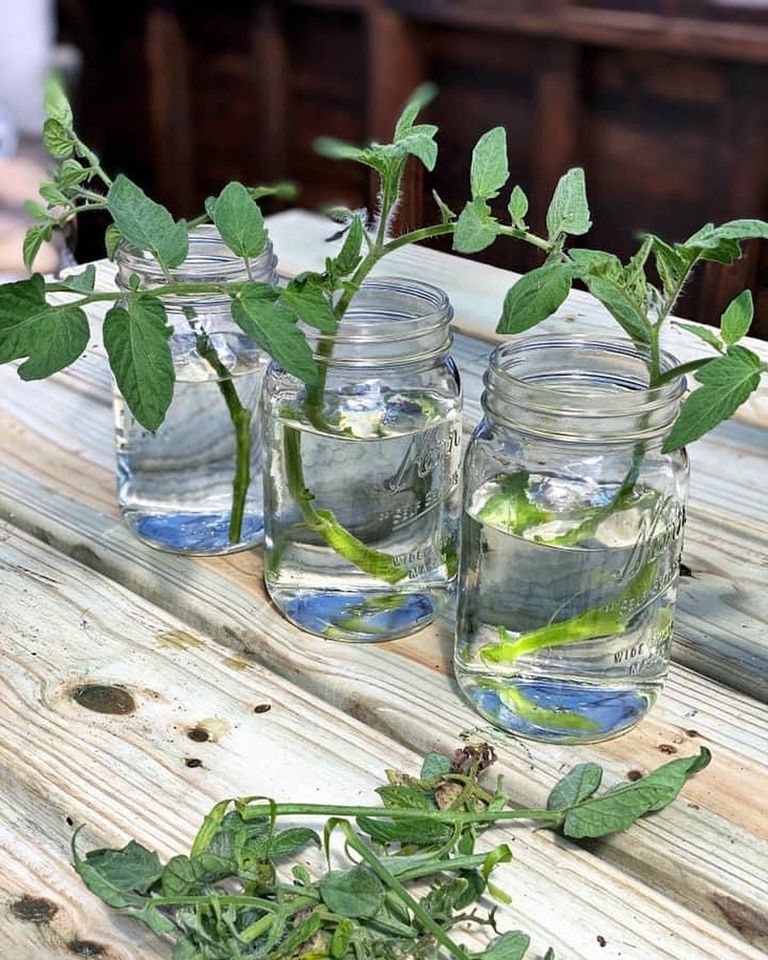
For example, several people noticed some mason jars in the background of a photo in my greenhouse. This started an avalanche of questions. The jars were filled with tomato cuttings in water with an abundance of healthy roots. It became clear that so many didn't realize you could do this. 
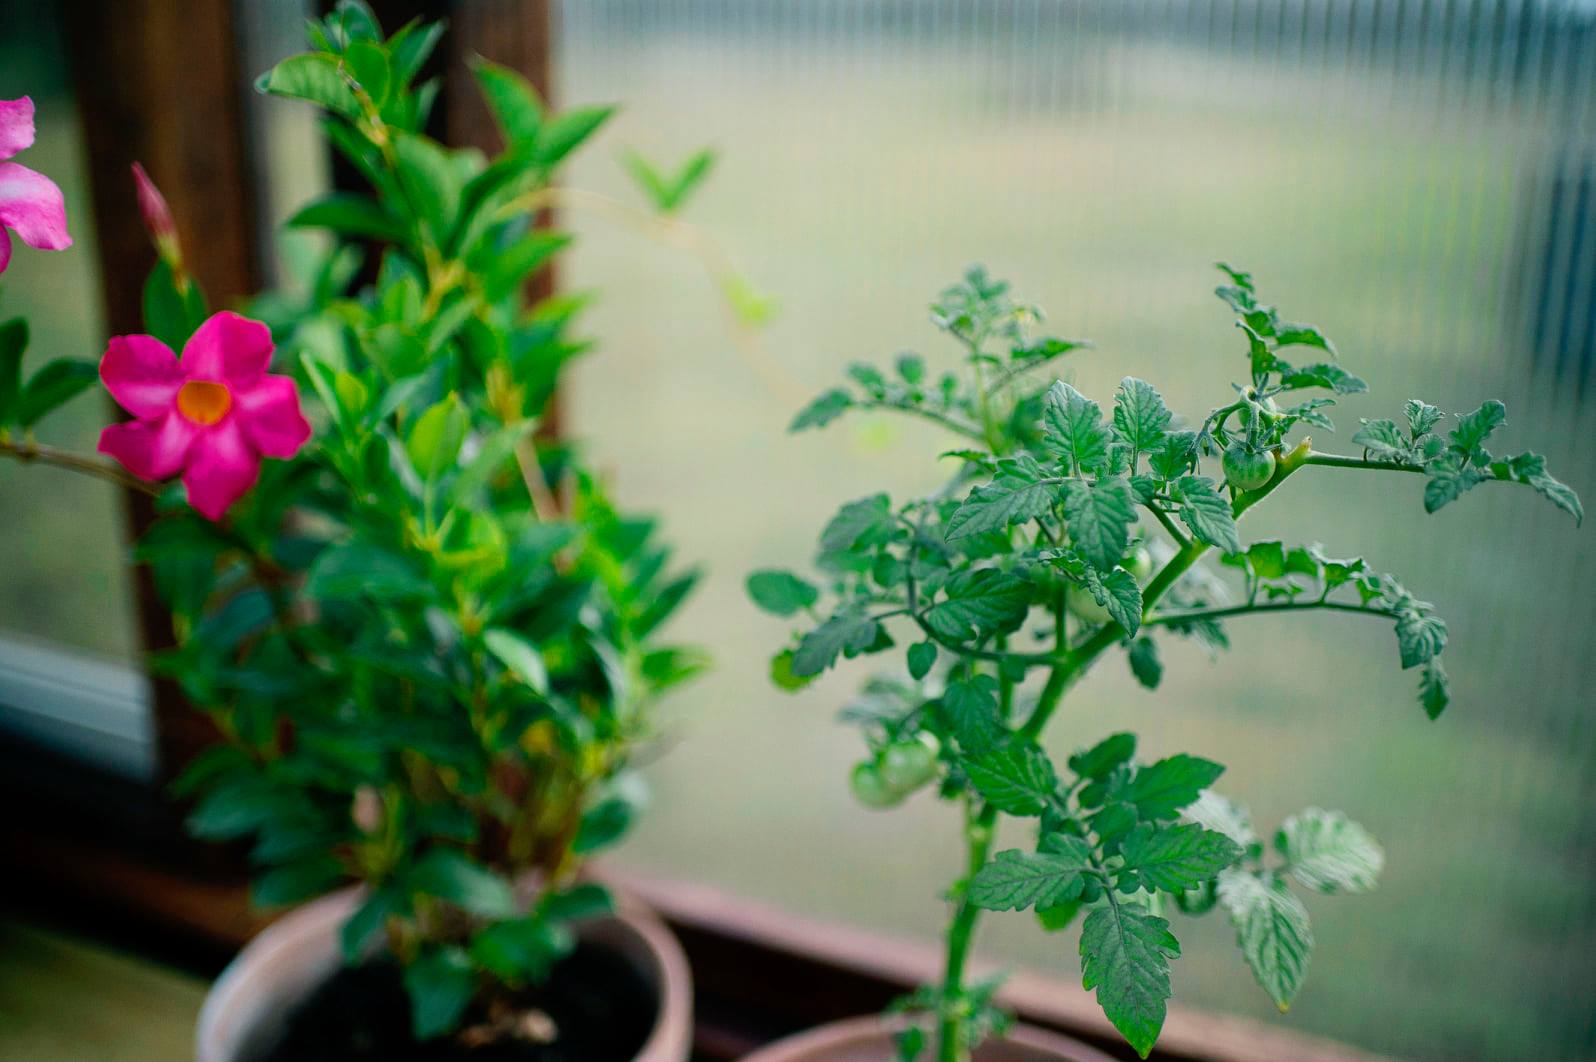
Tomato Plant
I love planting seeds, AND I love growing from cuttings. I have different reasons for doing one over the other or sometimes even both. If the reason warrants, I 100% prefer propagation by cuttings over starting by seed. It's so much faster.  

Last July, I started tomato seeds in the greenhouse. 

Why, if this is not my favorite method? 

I did so because there were certain varieties I couldn't get my hands on in any manner other than seeds. So, I was happy to start those particular ones by seed. But, a few months later, I took fall cuttings from my favorite tomato plants in the garden to overwinter. These would provide tomatoes for winter. But, they would also provide cuttings for new spring plants for my summer garden. 
Tomato Plants

When I plant seeds, even in the ideal greenhouse environment, it will take 6-8 weeks to have them ready for transplant. But, if I take a cutting from an established plant, it will be ready to transplant in about 10-14 days, but closer to a week. And another fantastic benefit of going the cutting route is it's an exact clone of the parent plant. So if you have a healthy, prolific plant, your new plant will contain those same exact characteristics. It's pretty incredible. 

What do you need?

Clean glass jars.
Clean sharp shears.
A healthy tomato plant.
And.........water.

That's it! So simple and cost-effective. 

Why and when do I propagate tomato plants by cuttings? 

My preferred method is to cut starts from my favorite garden plants in the fall. I will then root them, pot them up and overwinter for new spring cuttings. You can get plenty of new plants from one single parent plant. And, you can do this successively as well. Tomato plants are the most productive in their first year. So having a continual supply of new plants increases your harvest ability. This also saves my greenhouse space by avoiding carrying huge plants to overwinter. They will produce throughout winter. As I prune them closer to spring, I get new batches of tomato plants for my summer garden. It's such a win-win! 

To be completely honest, I had to prune my greenhouse tomato plants so often throughout the winter due to their incredible growth - I could literally have started hundreds of tomato plants, but the excess went into my composter.  

How do I do this?

It is so simple and easy! Once I decide which plant(s) I want to use, I take cuttings of about 6-7 inches from the tip of a branch. I choose straight suckers and prefer finding those that don't contain blooms. I then remove any bottom leaves-branches and blooms and then place them in water. That's it. I keep them in a well-lit, warm space (my greenhouse), and I will have a tremendously strong root system in about a week. Then, I will pot them up and transplant them out to my garden once the danger of the last frost is gone.

Tomato Plant Propagation by Cuttings

Tomato Plant Propagation by Cuttings

Tomato Plant Propagation by Cuttings

You can propagate directly into the soil. It's not my chosen method, but I will also follow up with a blog post with those directions. However, it does save a step and is worth exploring to determine your favorite method! 

Tomato Plant Propagation by Cuttings

Tomato Plant Propagation by Cuttings

Tomato Plant Propagation by Cuttings

Tomato Plant Propagation by Cuttings

Tomato Plant Propagation by Cuttings

Happy Propagating! 

Starting Petunias from Cuttings in the Greenhouse

Thursday, April 14, 2022

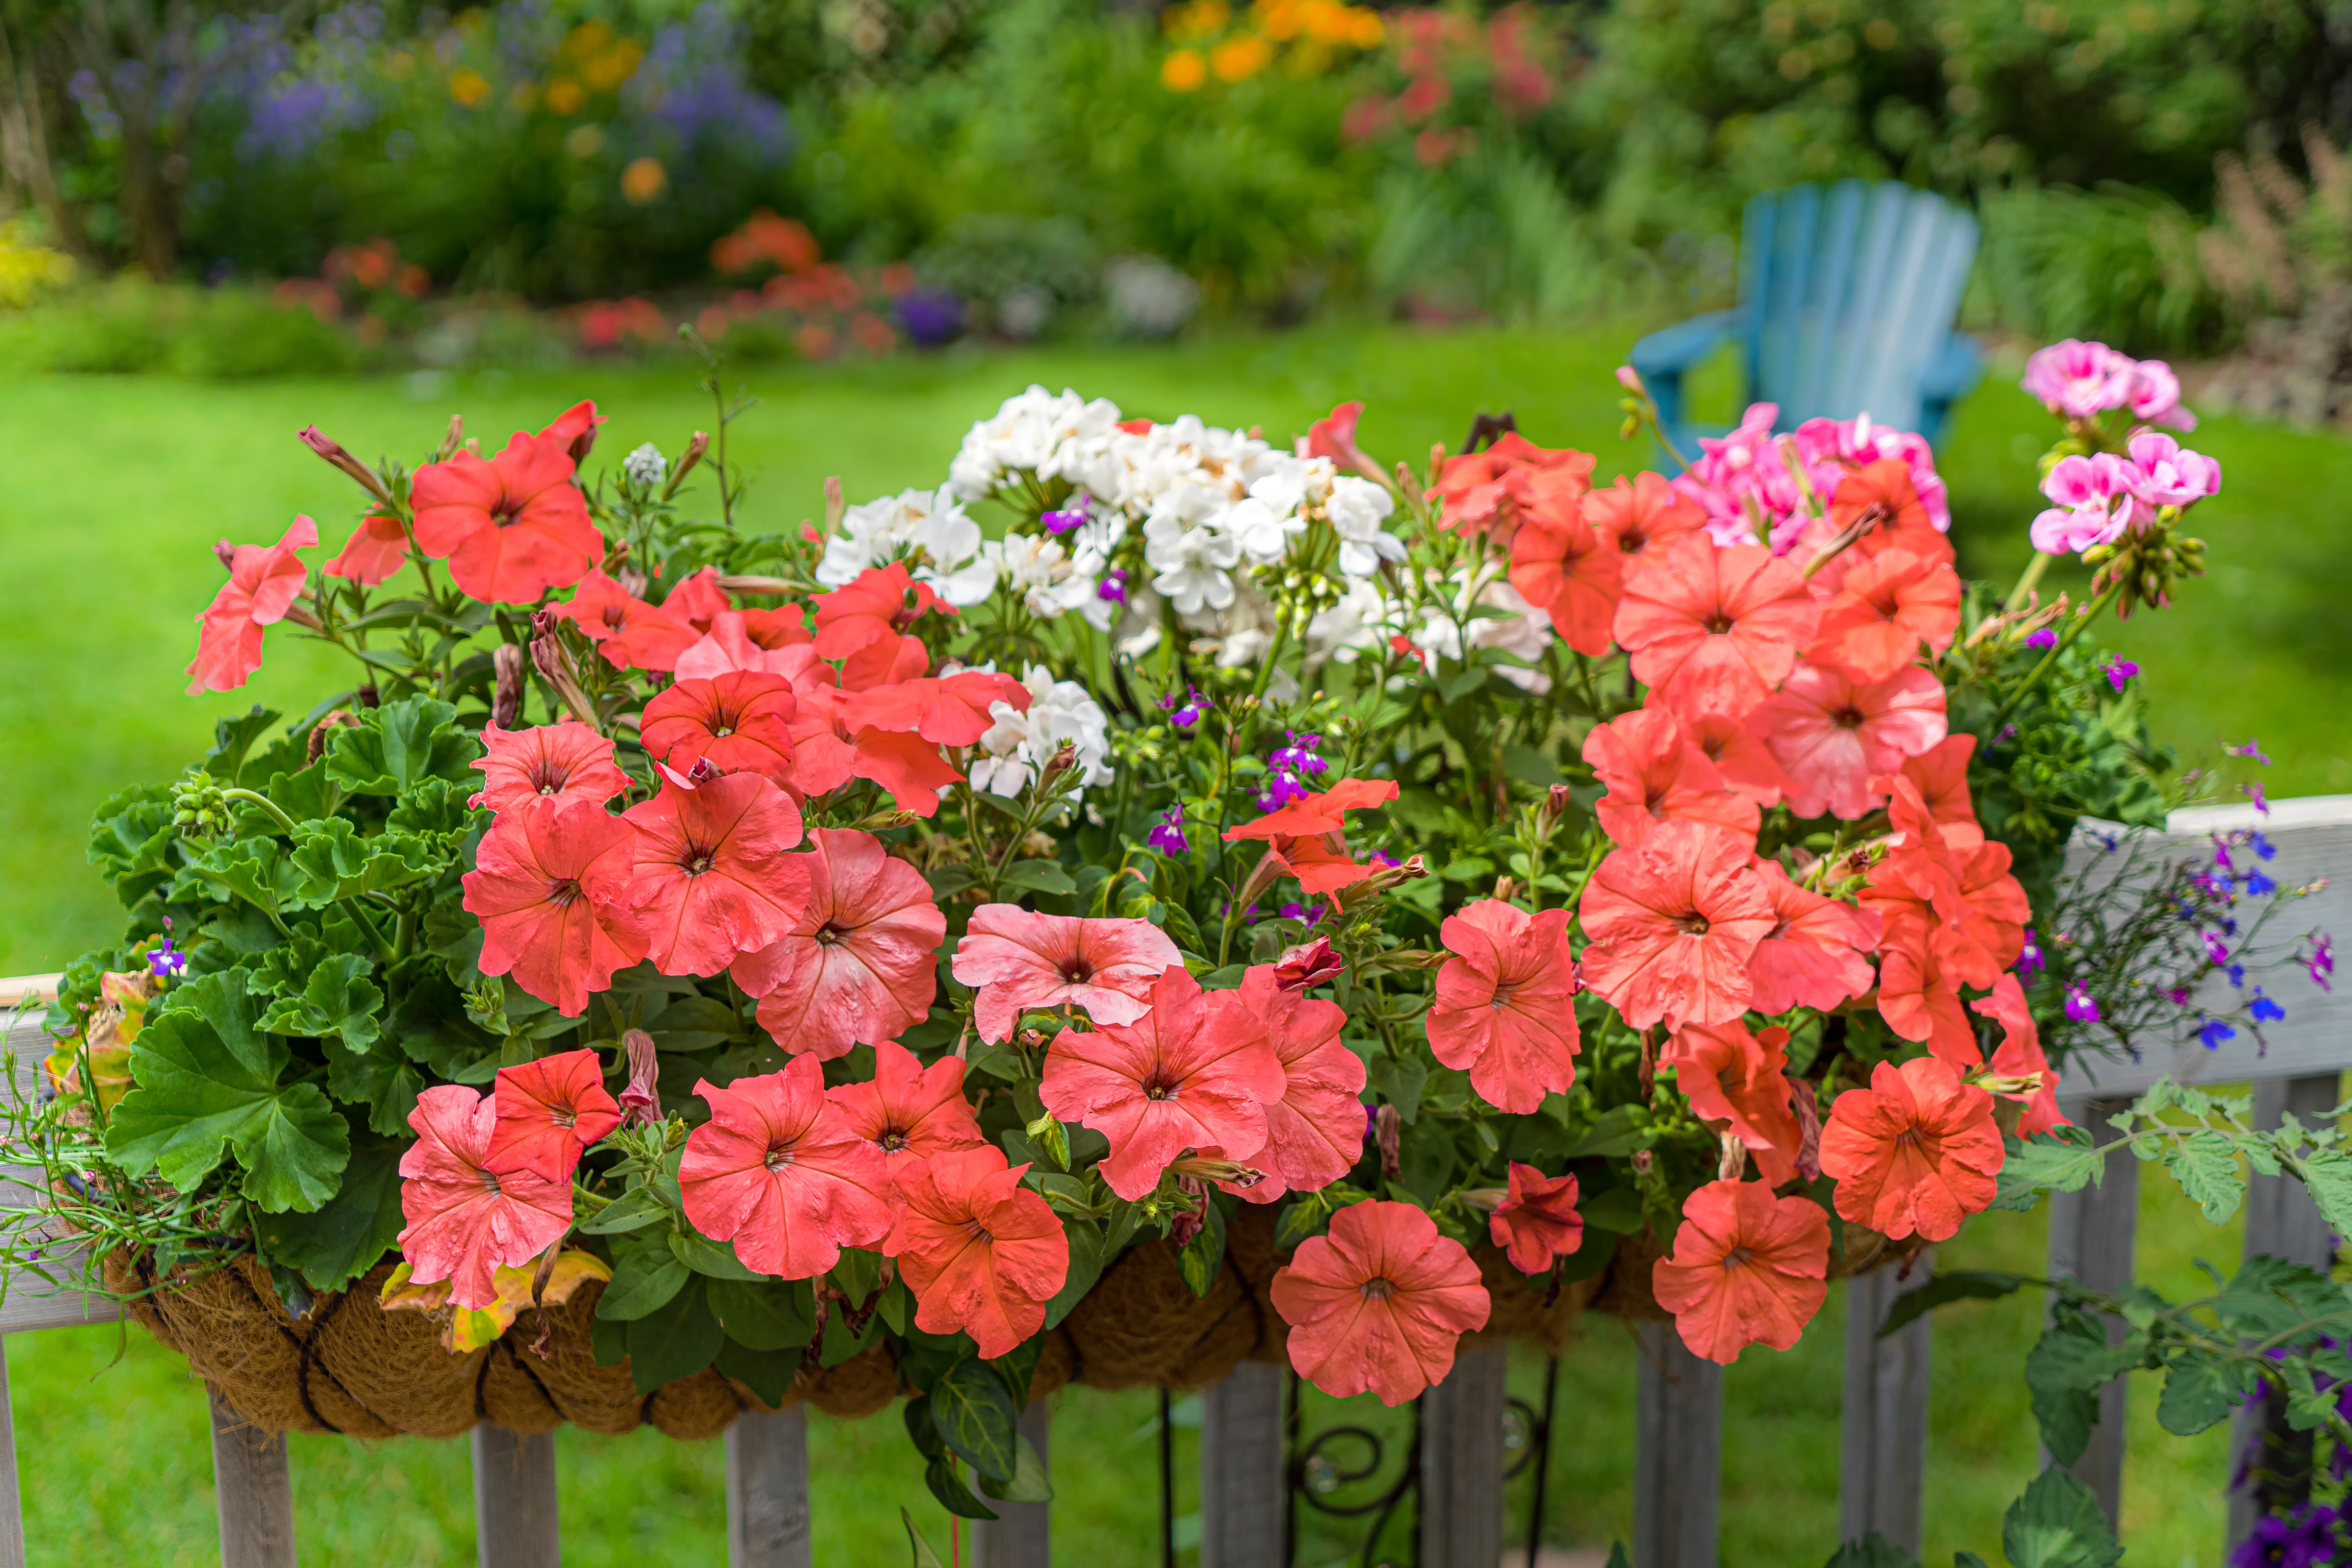
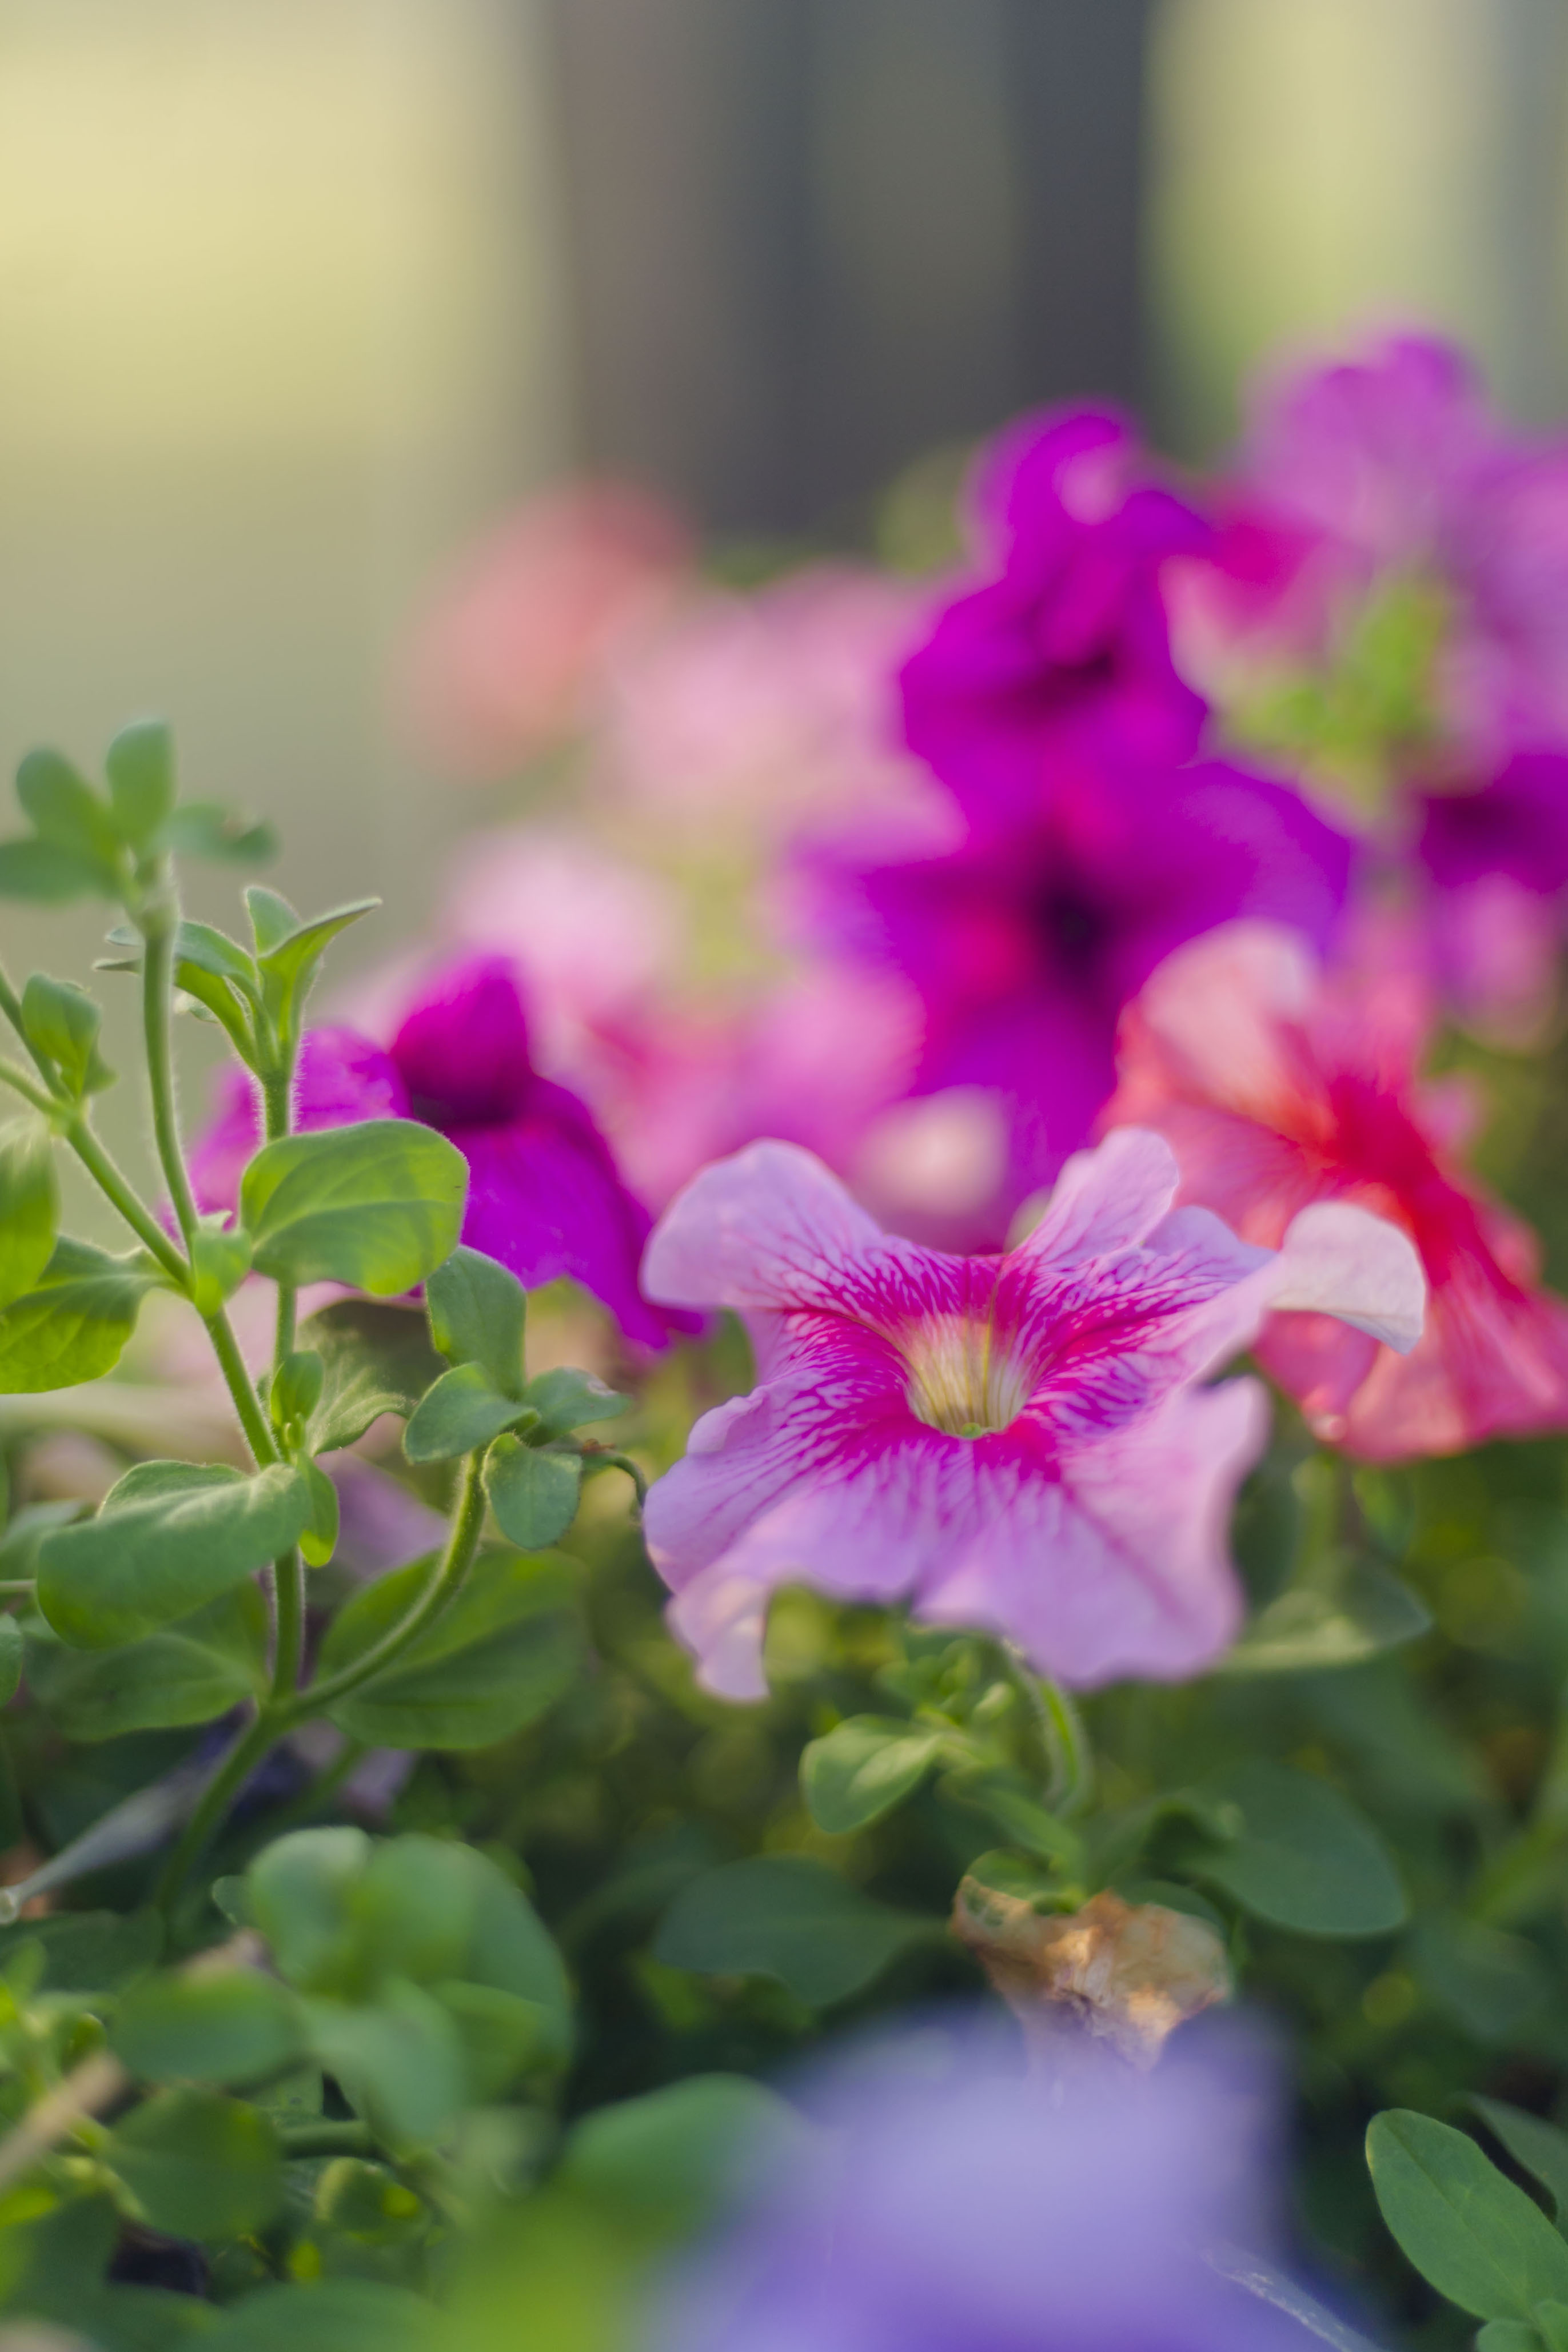
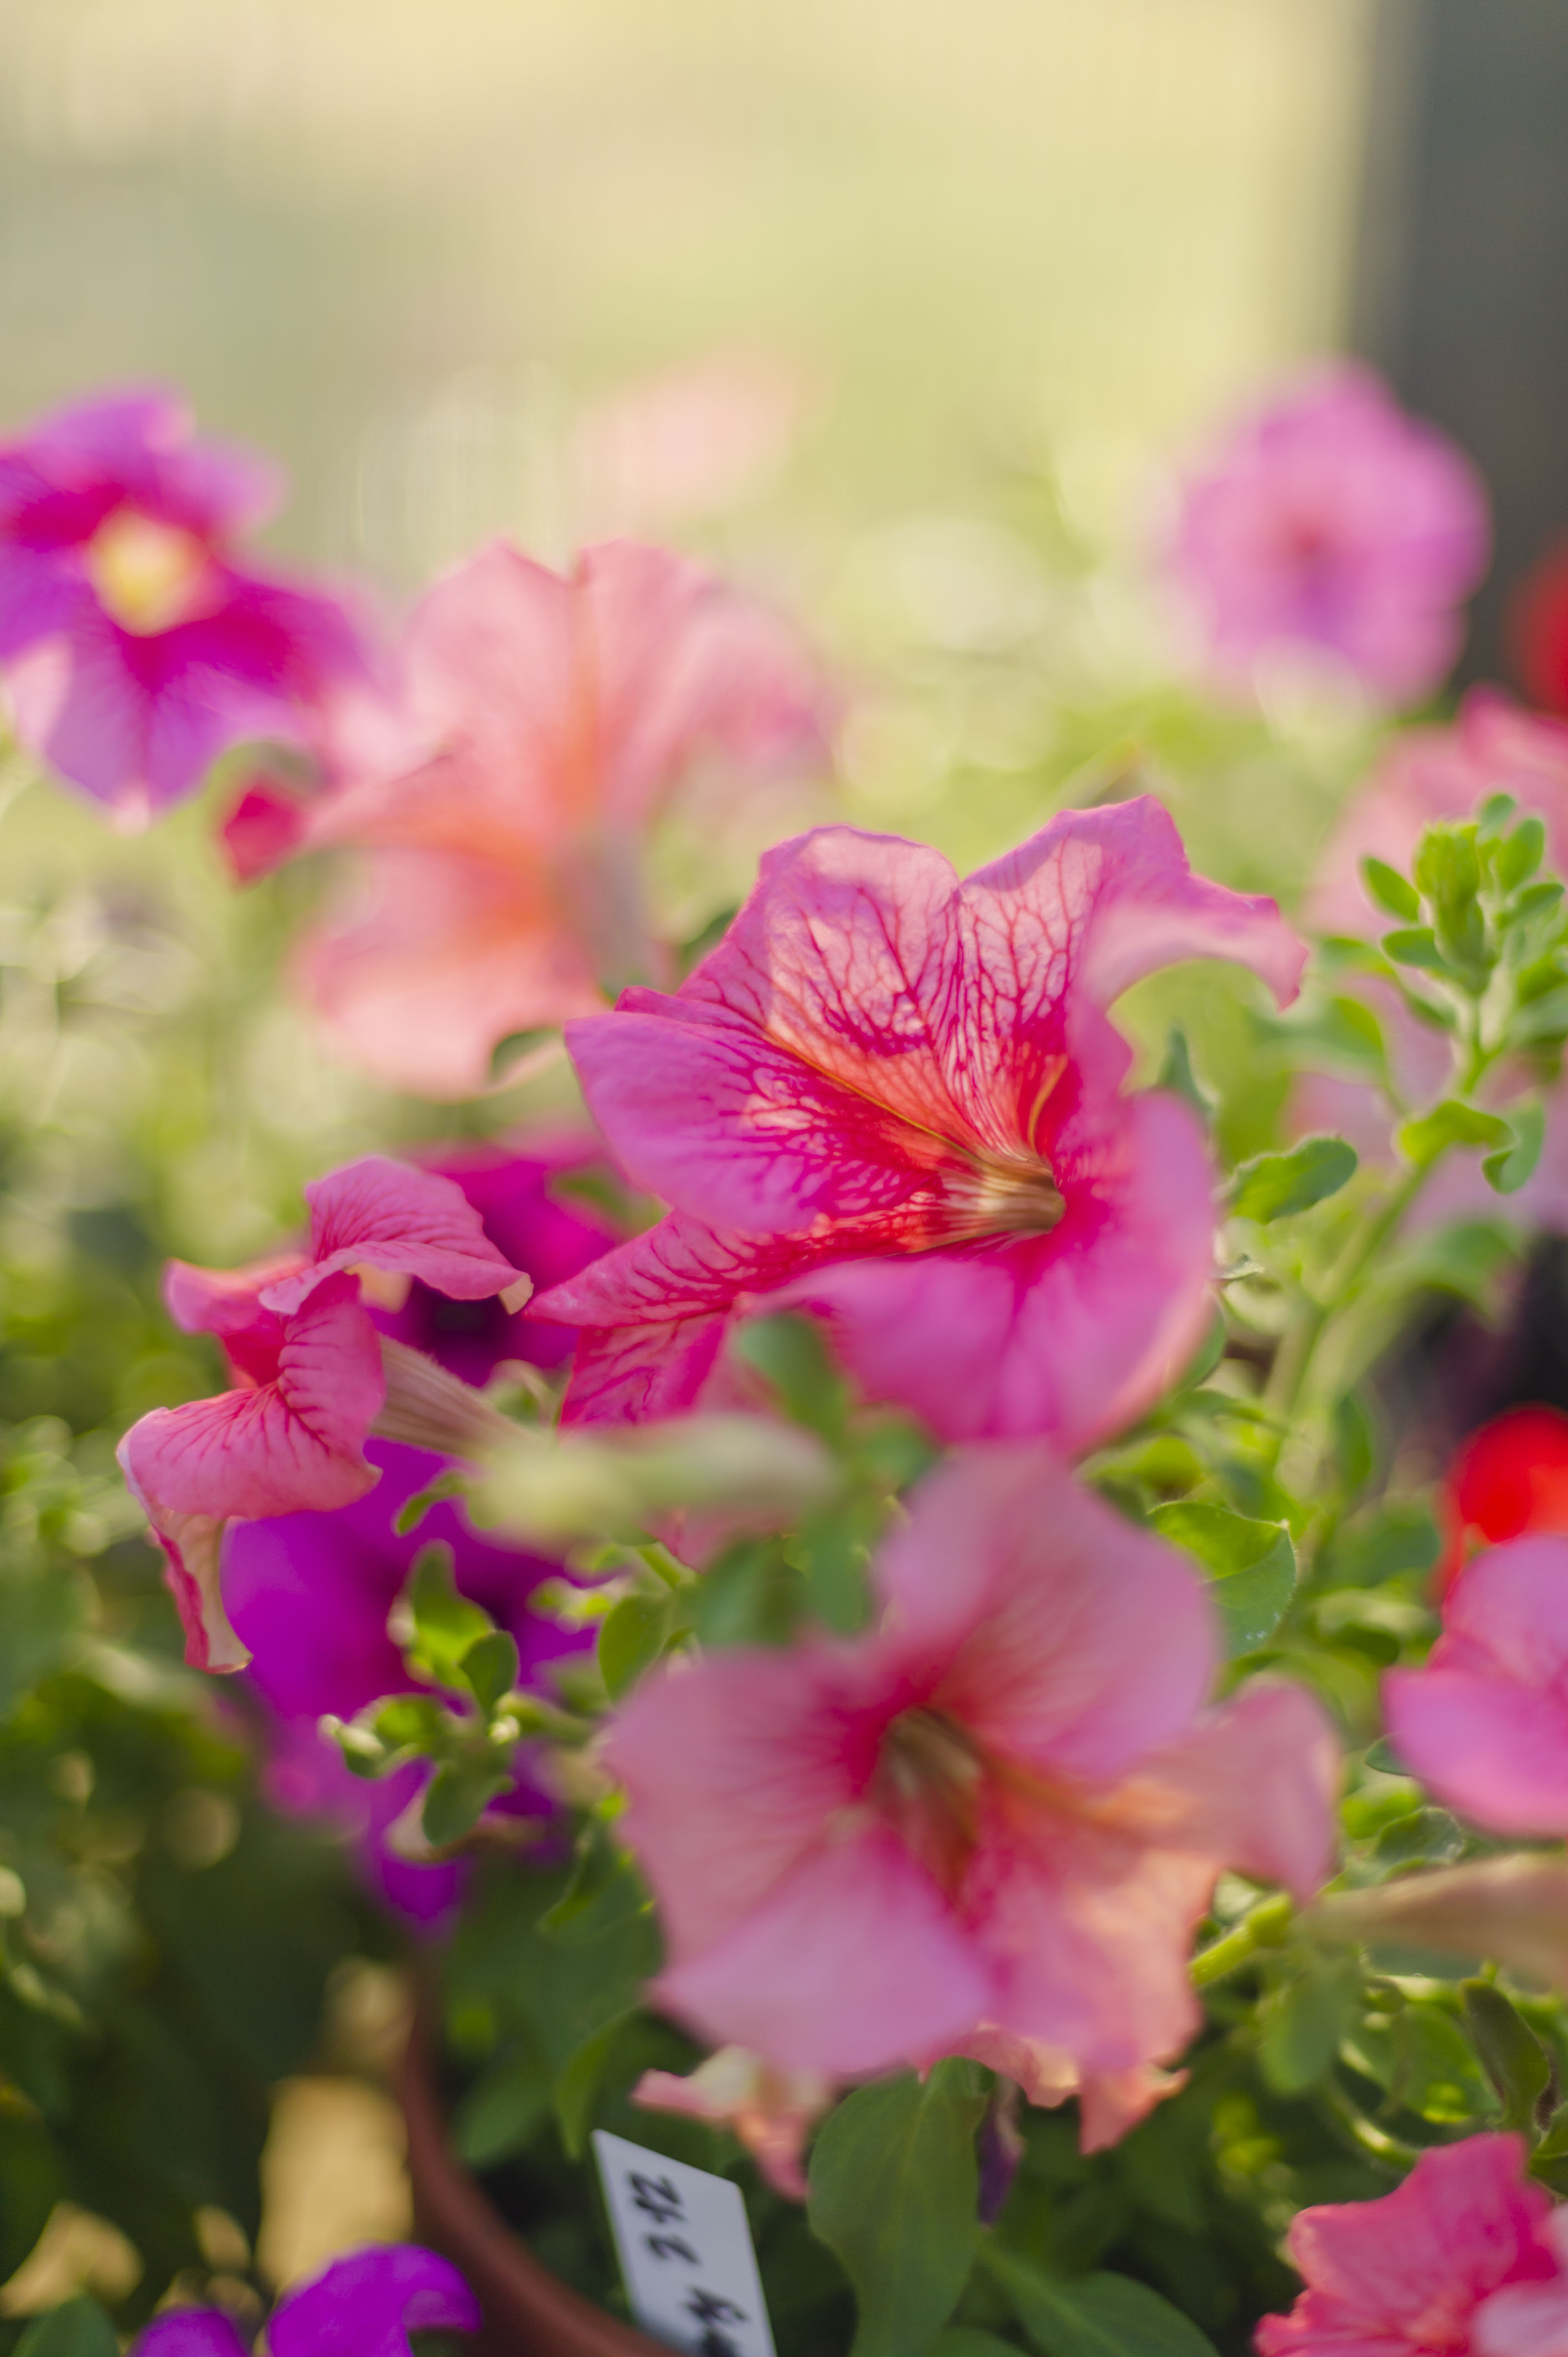
I have recently grown to LOVE petunias. I always seemed to skip over them in the garden centers because they seemed a bit old-fashioned to me. Last year in a mad dash to a local garden center to add some color to a photography shoot, I picked up a flat of mixed-colored petunias and headed out. 

Petunias in the Greenhouse

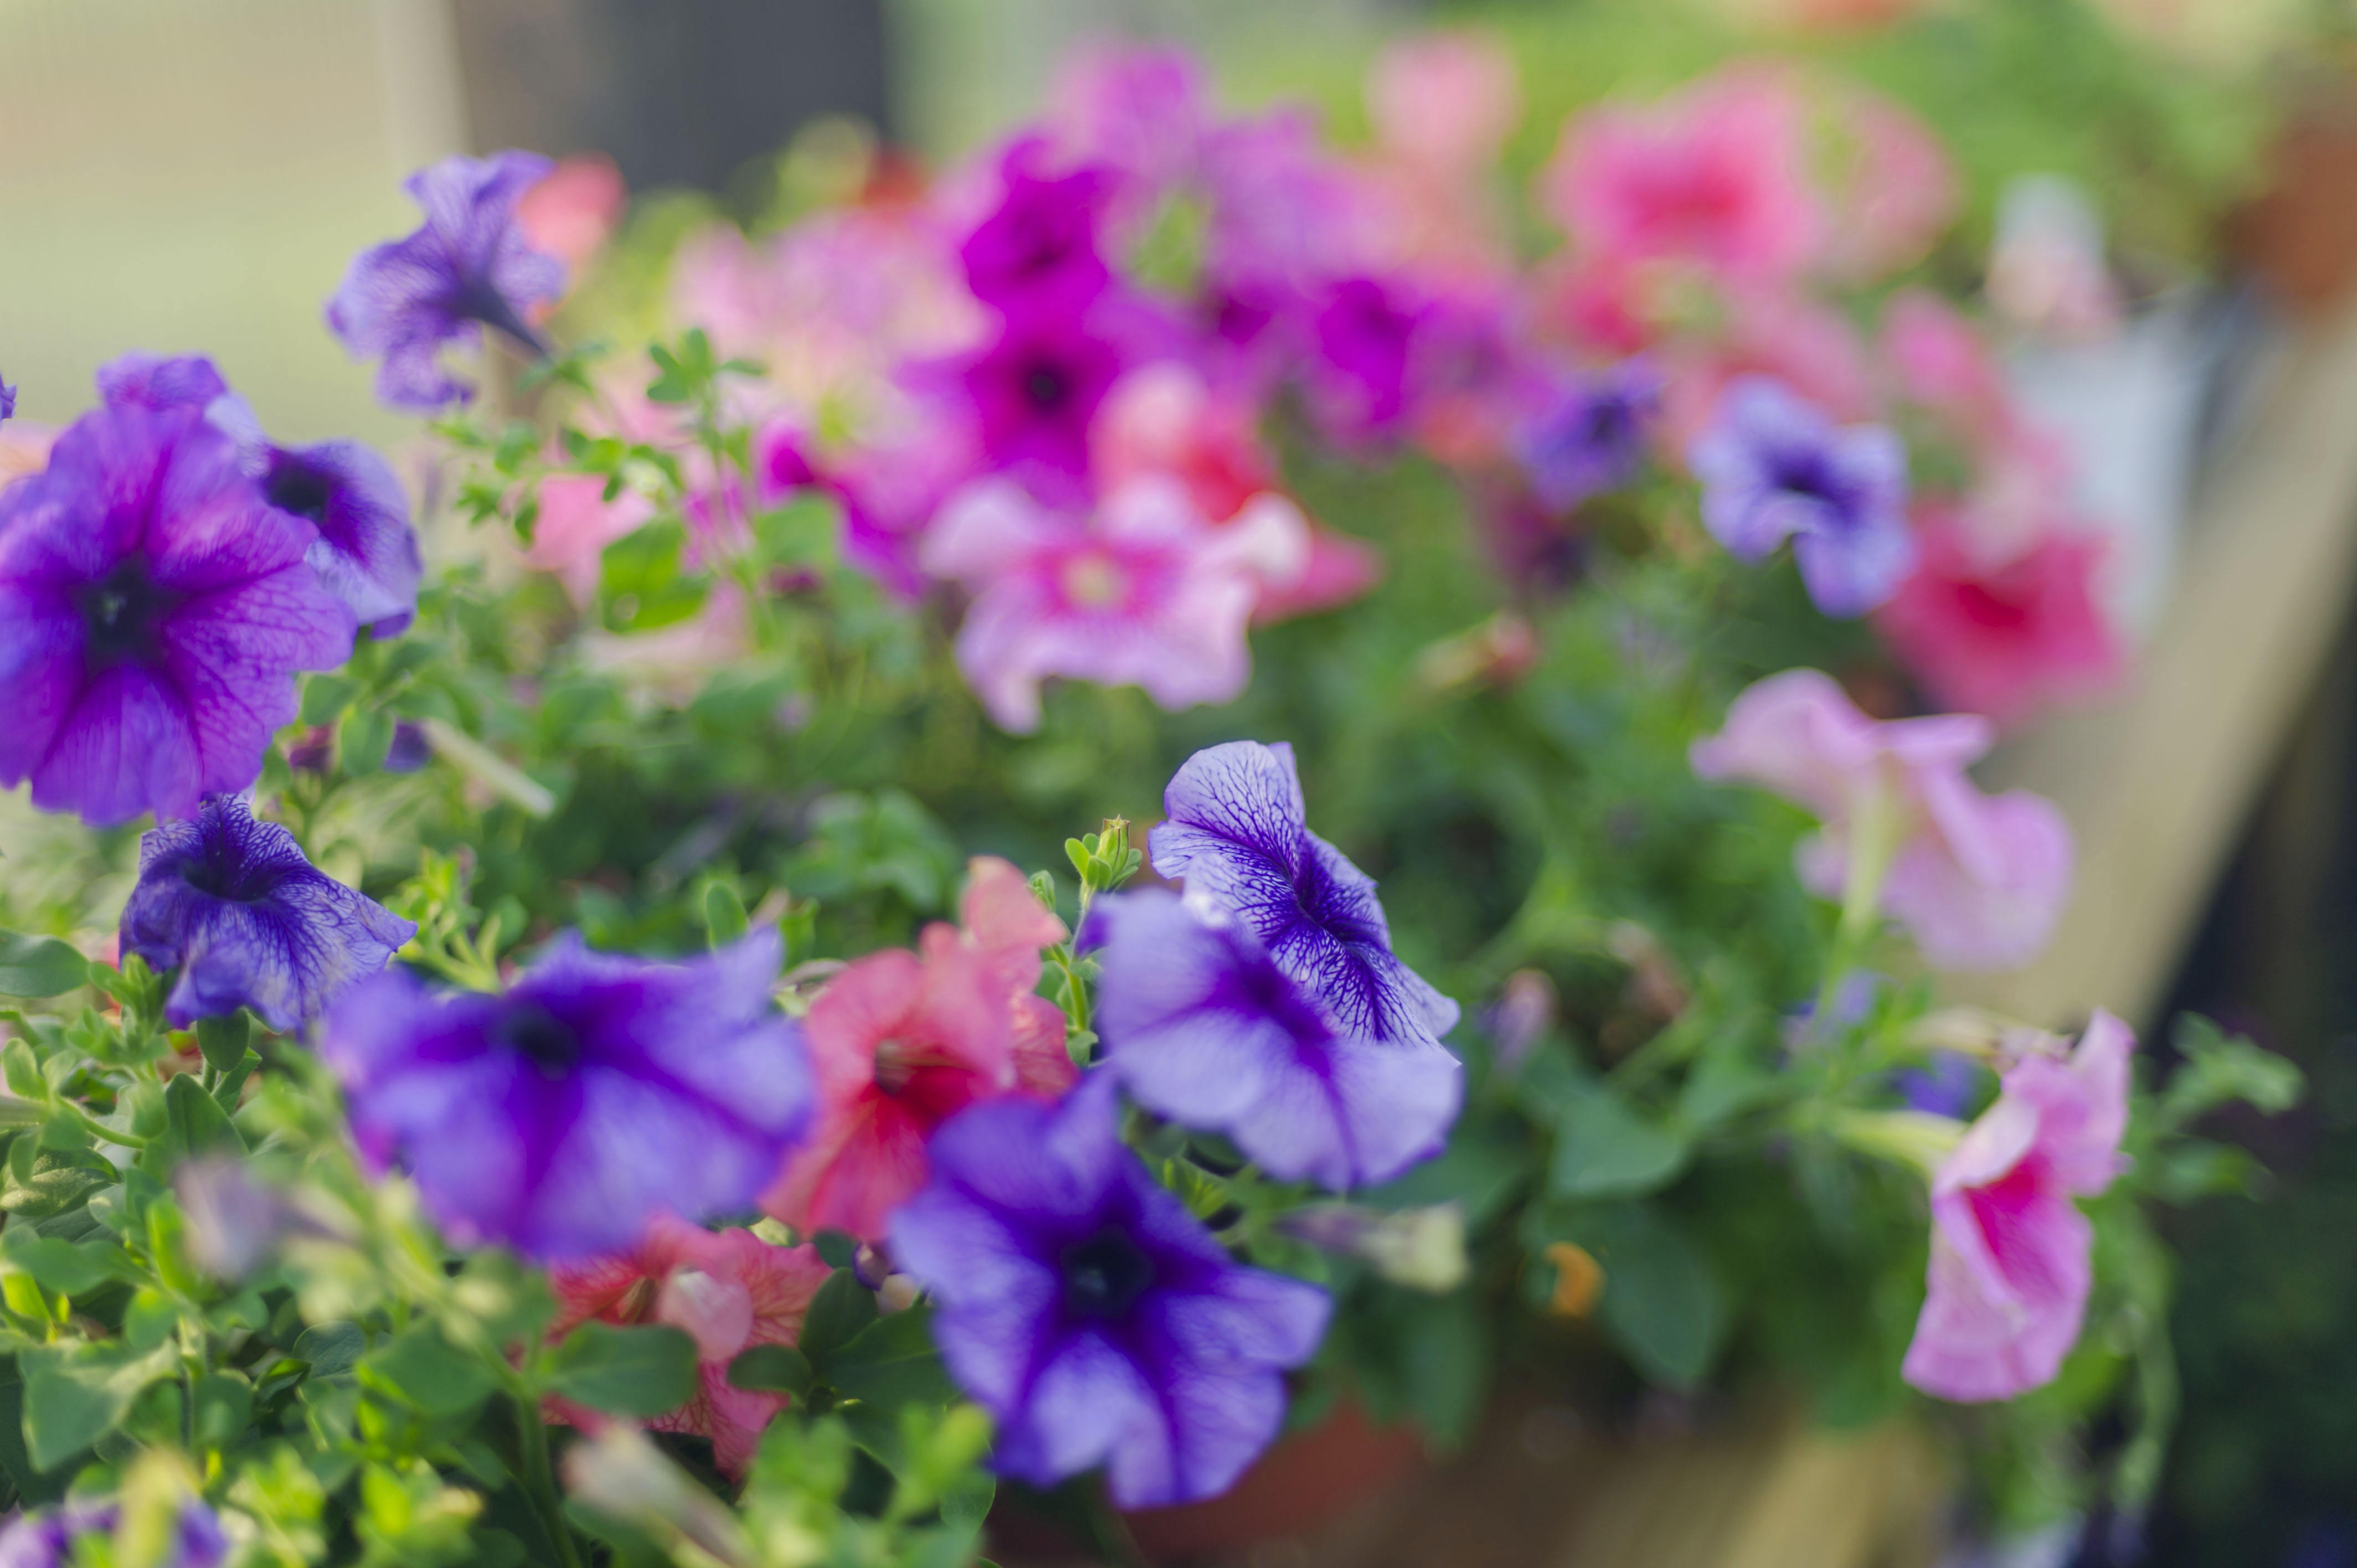
Petunias Greenhouse Grown

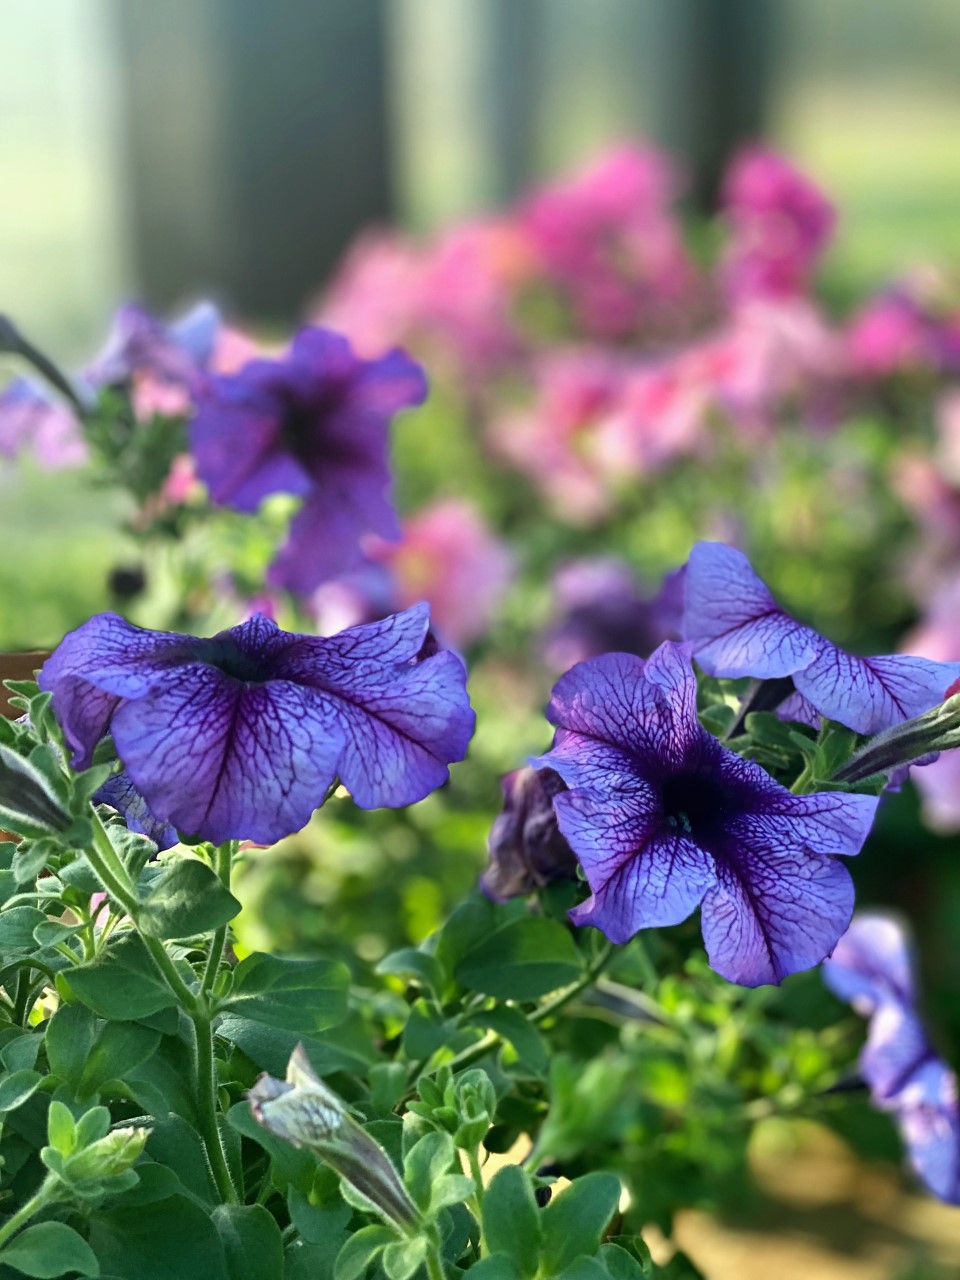
Petunias Greenhouse Grown

Petunias Greenhouse Grown

One thing I never knew until that drive home.....

they have such a sweet fragrance! 


Okay, they were already growing on me. (pun intended!) 


Petunias Greenhouse Grown


Since I've had my greenhouse, I have started new petunias by both seed and cuttings—the seed for colors I wanted to add to my collection. And, the cuttings from my VERY favorite color I had on hand - to clone more plants to look exactly like that. 


Petunias Greenhouse Grown

Petunias Greenhouse Grown

Petunias Greenhouse Grown


I can't say I prefer one method over the other because I do them for very specific reasons. Yet, the ones from cuttings have so many advantages over growing from seed. Petunias are slow growers when started from seed. I have an ideal environment in my greenhouse, so I wanted to use that method to get more variety. But, the new cuttings had rooted and were blooming in 3-4 weeks. 


It was so fast! 


That's a win in my book if I get blooms any earlier than what is typical. 


So, let's dive into starting new petunia plants from cuttings. It is simple:

  • Cut the stem.
  • Remove the leaves and blooms.
  • Dip into a rooting hormone.
  • Place it in the soil and water. 


But let me detail it out completely.


There was one color, in particular, I was crazy about. I could have saved and collected those seeds. But, because of cross-pollination, I wouldn't have likely gotten an exact replica of that color. 


It would have pretty much been a surprise.  Not that all surprises are bad, but I wanted ALOT more of the perfect pink I had so few of. 


That's where cuttings can come into play. If I am cutting from the mother plant, my new start will be a clone of that mother plant. Thus, I will get that perfect happy color of pink I want. 


Petunias in the Greenhouse

Petunias in the Greenhouse

Petunias in the Greenhouse

Things you will need as you prepare to take your cuttings: 


1. Soil - I use seed starter as I want the roots to have an easy medium to grow into. 

2. A container of water. I like to take my cuttings and immediately place them in water until I can get to them to keep them fresh and avoid extra shock. This is especially a priority for me if my greenhouse is hot or there is a chance I can be pulled away from my gardening table. 

3. Rooting hormone. I use rooting hormone for my petunias and have been 100% successful. Some do not use rooting hormone and are successful as well. I may give that a try to test it out. I'll let you know1 

4. A dibber or pencil to make a hole in the soil. 

5. I use my 6-inch terra cotta pots for a potting container. But, anything with good drainage will work. 

6. Scissors, shears, or a knife - make sure they are clean and sharp. 

7. A healthy mother plant. I usually water mine well an hour before, but I take the cuttings. But, on occasion, I have skipped that step. 

8. Water. 


This is an easy way to fill your summer containers full of petunias. And, let me warn you now....once you start, it's hard to stop! 


So, let's get started! 


Moisten your soil well and fill your pots with the soil with about an inch of room left from the top of the soil to the top of the rim. 


Petunias Greenhouse Grown


Find a straight stem that is 3-4 inches in length. You will want at least 2 to 3 leaf nodes planted under the soil. Follow the stem down and cut below a leaf node. 


Petunias Greenhouse Grown

I place my cuttings in water at this point as I continue to work and collect more stems.  Lay your cutting flat on your gardening table and remove all leaves and blooms. You can remove all, but I tend to leave 2-3 leaves at the top but no more than that. You can either pinch them or cut them off. 


Petunias Greenhouse Grown


At this point, I dip the bottom end of the stem into the rooting hormone. You will want to pour a little out into a separate container. This will ensure you don't transfer disease or fungus into your primary container. 


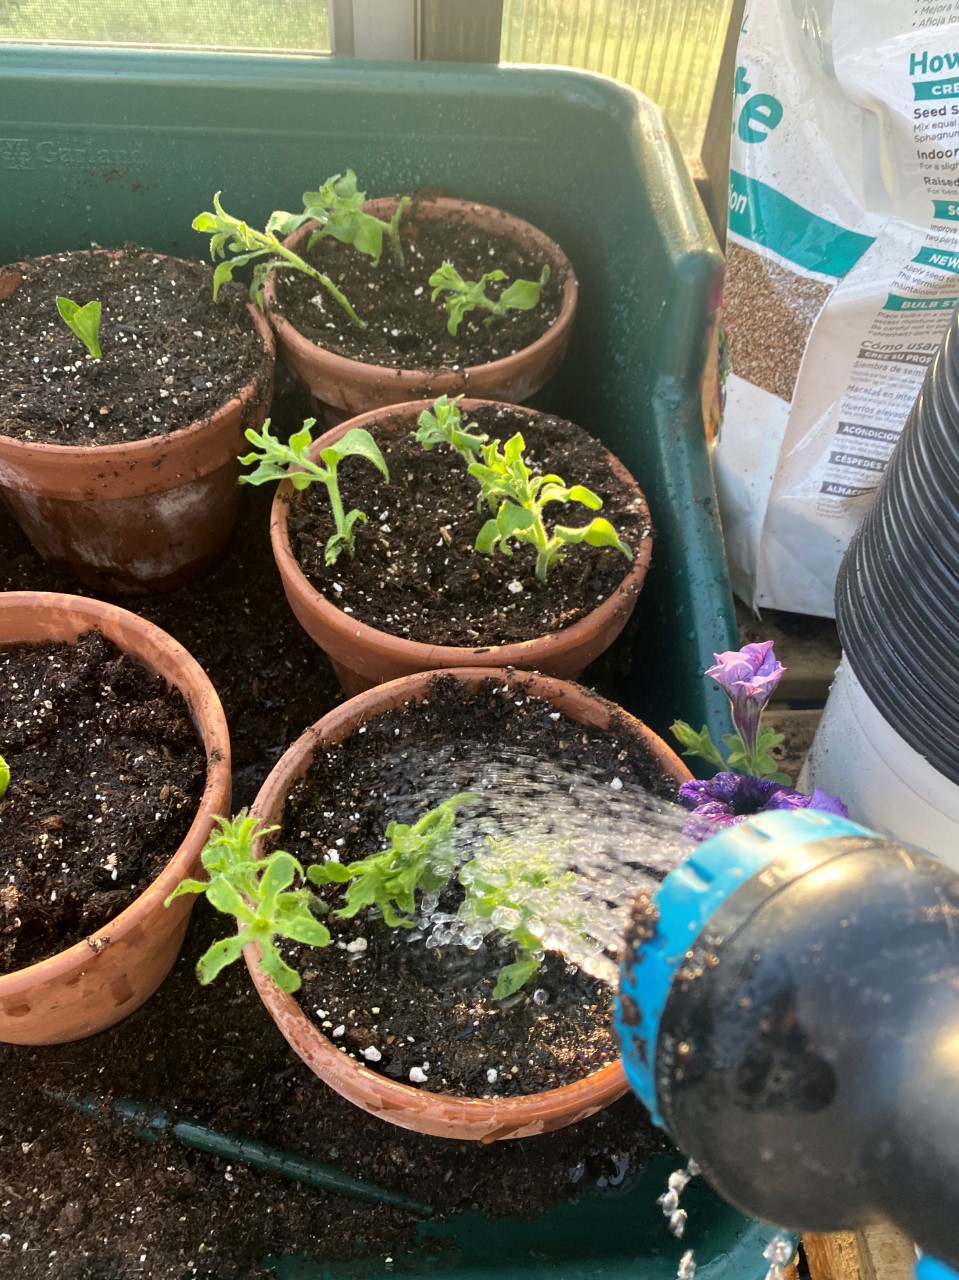
Next, take a dibber, pencil, or sharpie and make a hole in the soil. Make it deep enough to accommodate the leaf nodes you want under the soil. I use a six-inch pot and plant three stems in each pot. Place the stem into the hole, pat the soil firmly around the base of the stem, and water well. 


At this point, if it's during winter, I will place it on a heat mat. Some opt to use a humidity dome; I do not. After about three weeks, I remove it from the mat. They will need filtered light (greenhouse) or grow lights to assist in the process. During warmer months, I will not be use a heating mat. 


When you water, allow the top of the soil to dry out, water to the point the water runs through. Then let the top inch of the soil dry out again and repeat. 


Petunias Greenhouse Grown
 

Tips to remember:

*It is hard not to "peek" to see how the roots are forming. (I'm guilty!) However, it is best to disrupt them as little as possible. If they are growing and producing more leaves and blooms, you can trust they are rooting well. 

*Do not put the cuttings in direct sunlight as they prefer bright but filtered. They also don't like being overly hot. I've only started them during the winter months but will start more cuttings in April and possibly throughout the summer. I will take extra care to keep them cool with fans, open windows, plenty of water, and the bottom gardening table shelf. 

*If you have warm temperatures, they may need to be watered twice daily. 

*Petunias LOVE to be fed. I start feeding mine a diluted solution of Miracle-Gro once the roots have been established. And, go full strength once I pot them up. 

*You can easily overwinter petunias in a greenhouse. But, as they grow, they need a lot of space or become tangled. I will overwinter some, but primarily only to get spring starts. But, if you have the space, they will do very well with appropriate winter care. 

*During the summer months, they can get leggy around July. This is also another great time to take cuttings for new starts as fall goes into winter. 


I hope that helps you grow loads of petunias. I've come full circle in ever overlooking their loveliness again. Of course, you can do this without a greenhouse, but a greenhouse makes it so easy. 


I hope your spring and summer (and fall and winter) are filled with the sweet fragrance of this amazing plant! 

Powered by Blogger.

Search This Blog

Theme Designed By Hello Manhattan
|

Your copyright

All Rights Reserved Copyright Yoderbilt Designs 2020