Slider

How to Pinch Back Sweet Peas to Encourage More Blooms

Thursday, March 24, 2022

Mansfield, AR 72944, USA

 It's sweet pea season! 


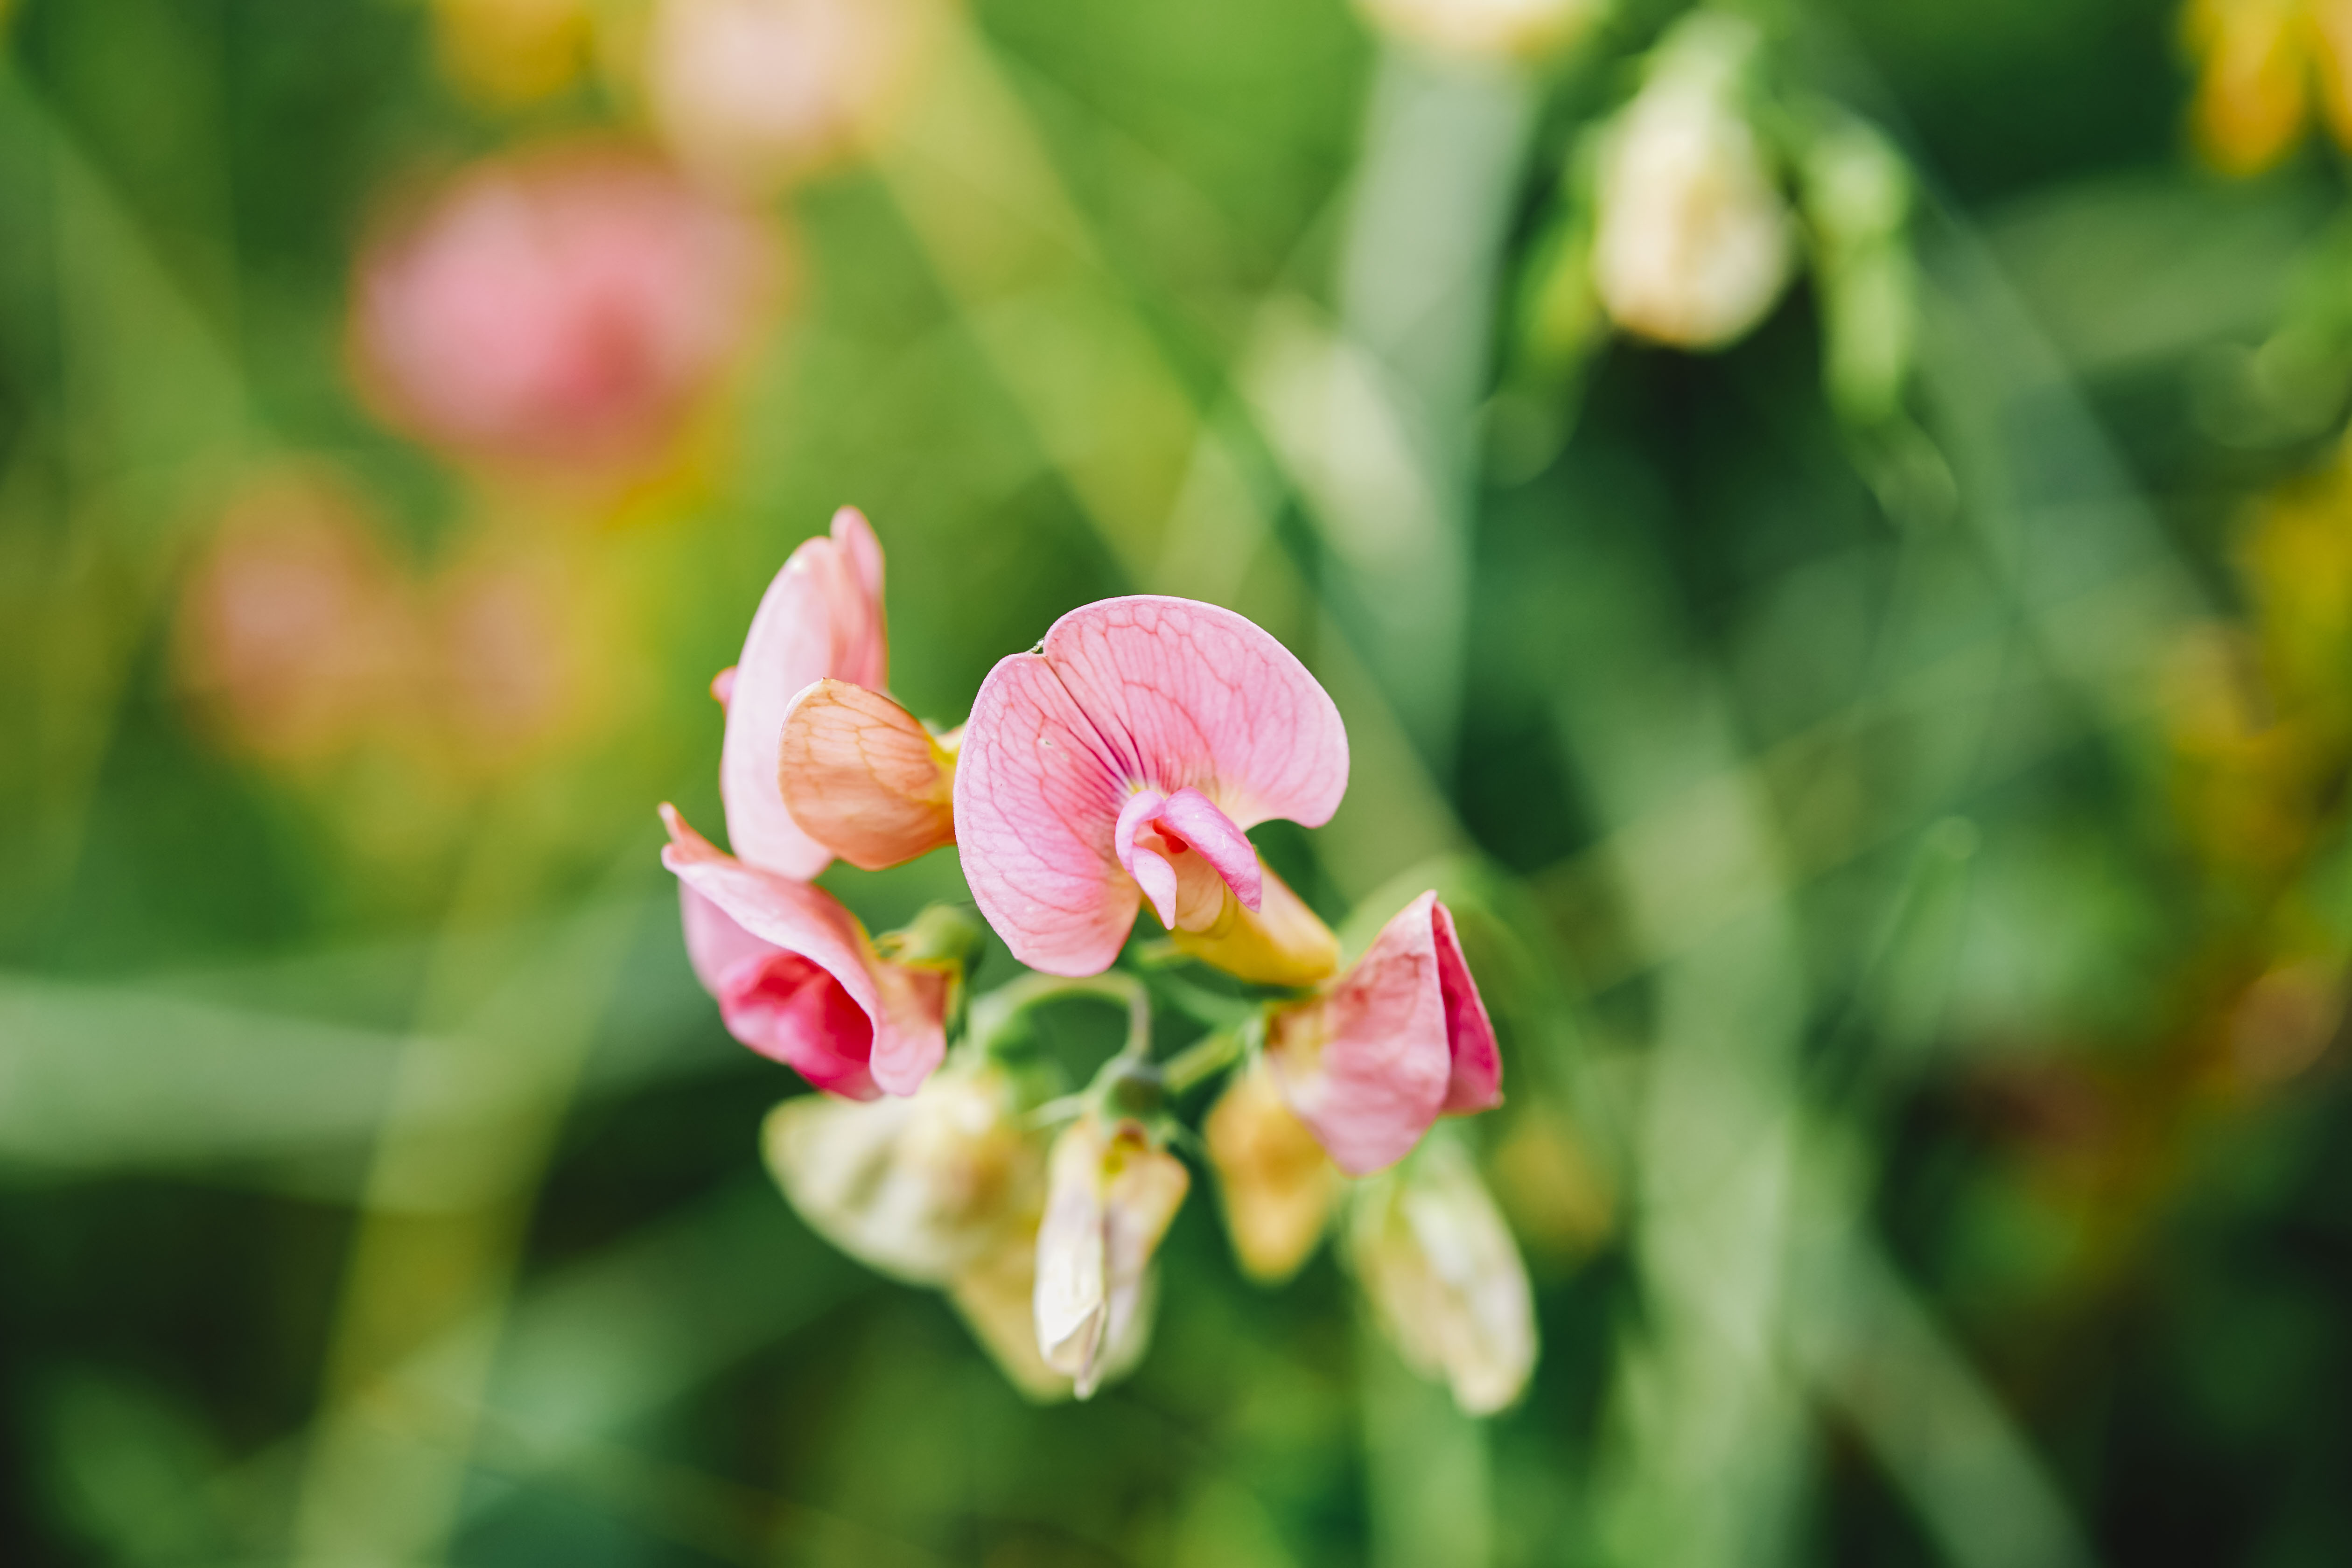
Thanks to their sweet fragrance and colorful varieties, they are a gardener's favorite.  They will soon be filling garden spaces and vases alike. 

Sweet Peas

Sweet Peas

Sweet Peas

Sweet Peas

Do you want more blooms? If so, you should consider pinching back your plants. Although not a necessity, most gardeners will opt to pinch their sweet peas back. You will do this once they reach 4-6 inches tall. This will not only encourage the plant to be shorter and busier but will also produce more blooms. And, once they begin producing, the more blossoms you cut, the more they'll produce - a great cut and come again flower. 

Sweet Peas

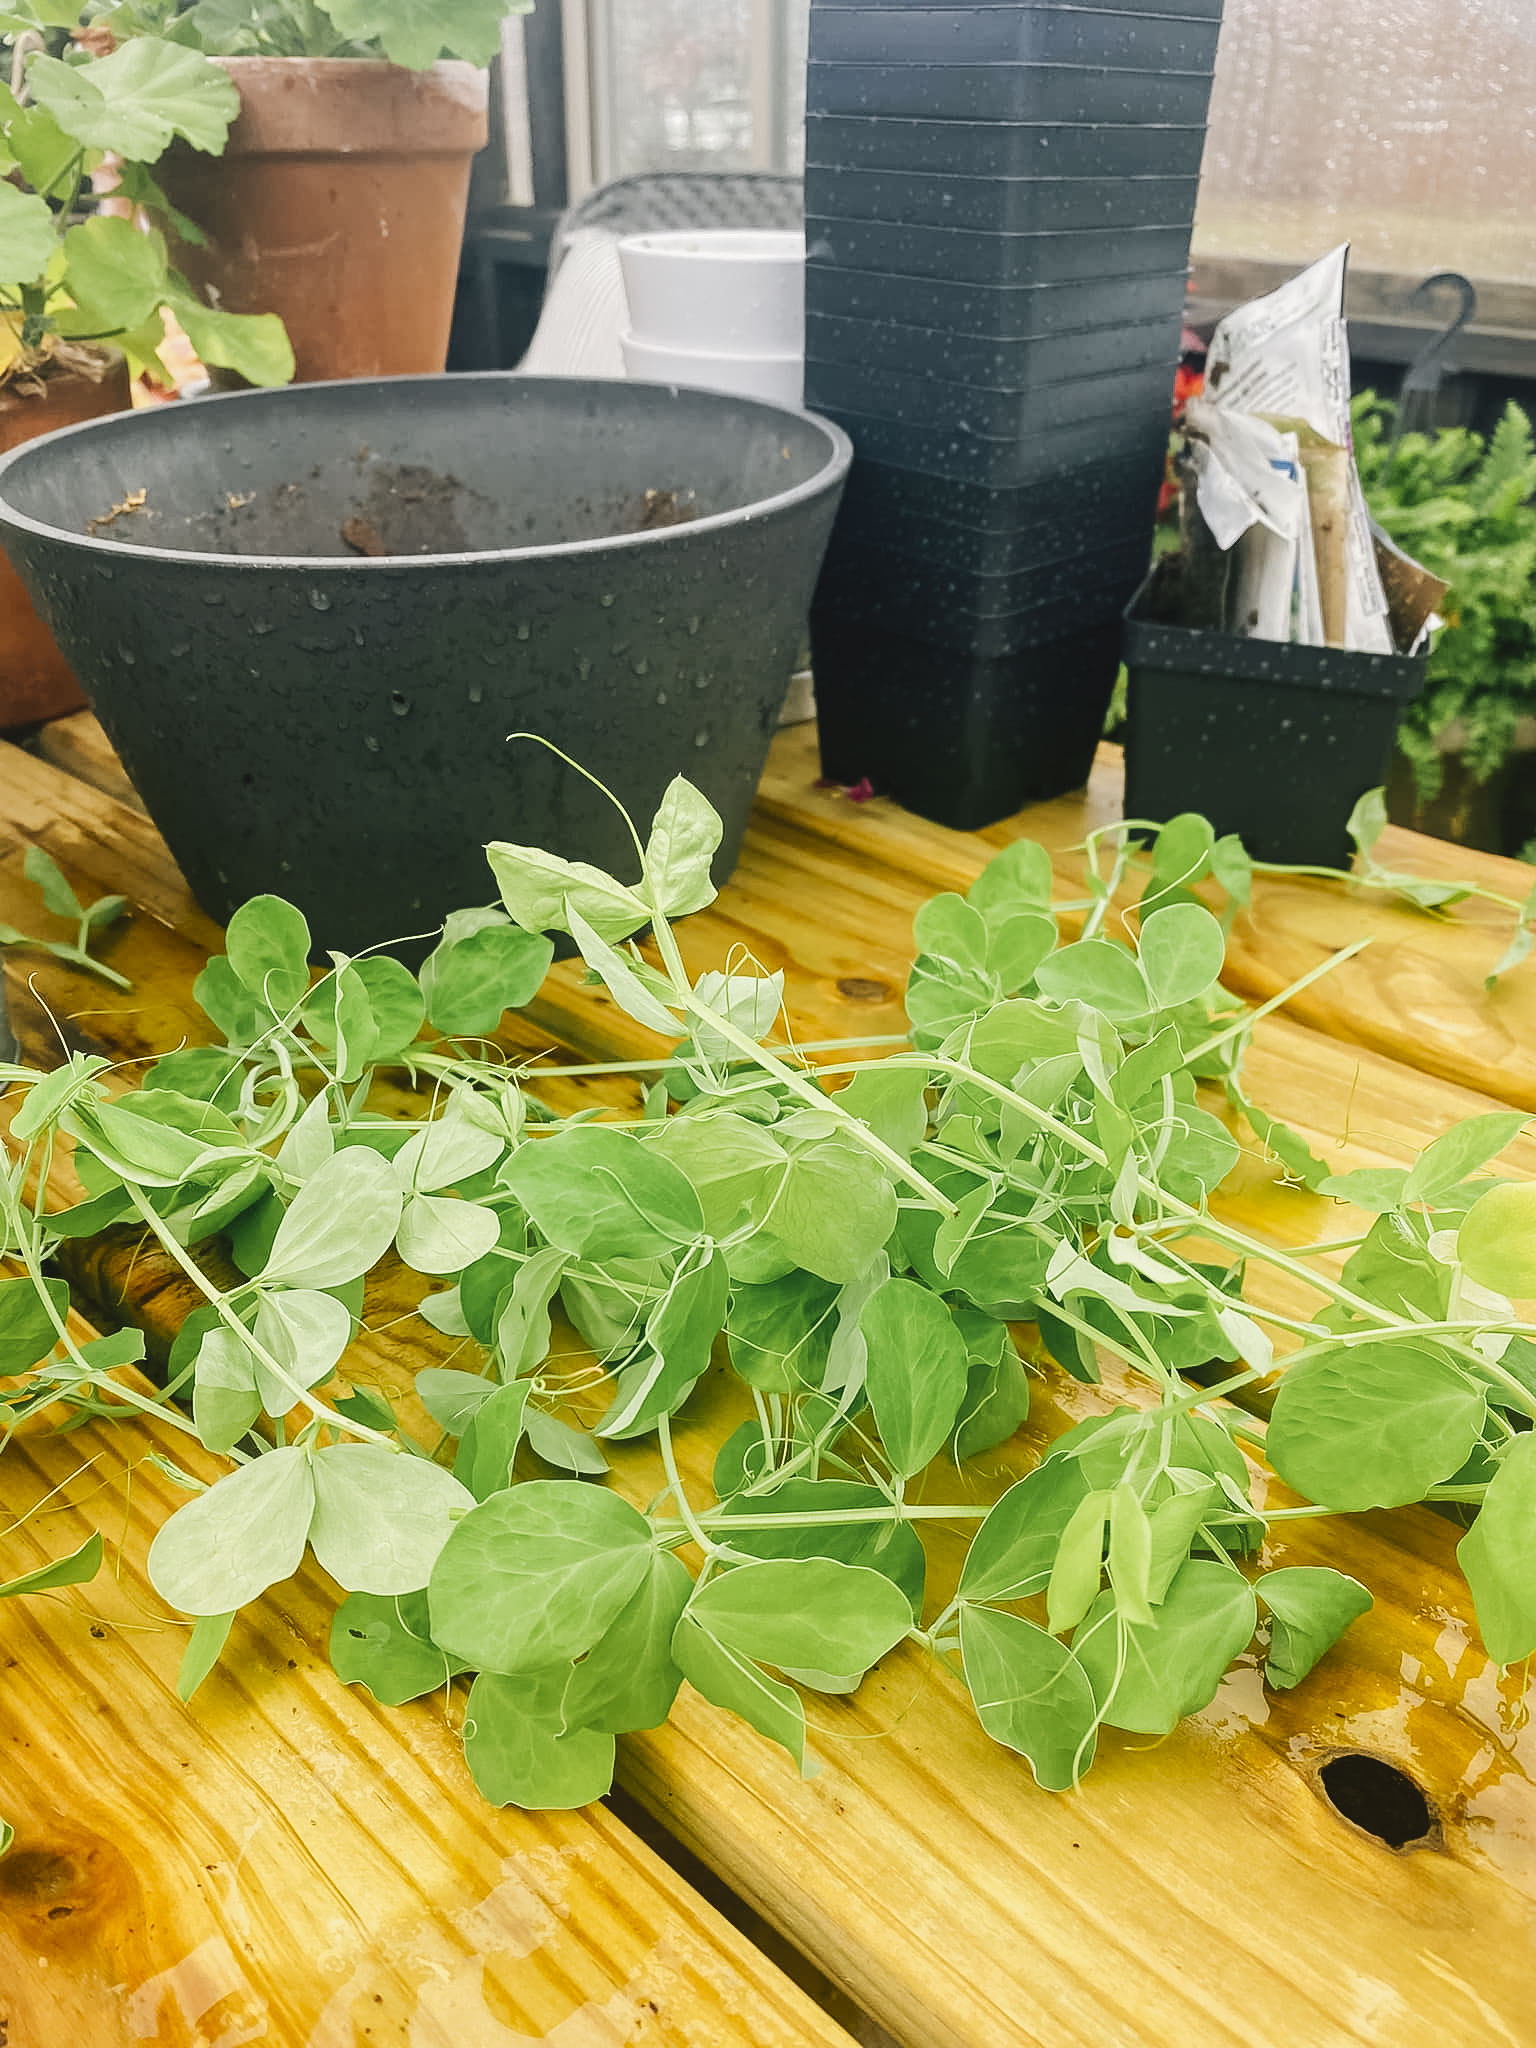
You can "pinch" with your fingernails, although I like a clean-cut, so I tend you to use some small sharp pruners. You will pinch or cut the central growing tip above the leaf joint. I make sure I cut and leave only 2-3 leaf sets on the plant.
 
Sweet Peas

Sweet Peas

You can "pinch" with your fingernails, although I like a clean-cut, so I tend you to use some small sharp pruners. You will pinch or cut the central growing tip above the leaf joint. I make sure I cut and leave only 2-3 leaf sets on the plant. 

With pinching, they will redirect their energy into more branches and blooms. It can be hard to pinch them back, but it's so worth it!  

Sweet Peas

How to Overwinter Geraniums

Wednesday, March 9, 2022

Mansfield, AR 72944, USA

 I, like many others, have an obsession...


Geraniums. 

Yoderbilt Greenhouse Geraniums
This past summers-end was extra hard. I had grown every geranium plant either by seed or propagation in my greenhouse, and I wasn't ready to see them go. I had hundreds of them in a very select color scheme. The fall days were drifting in, and colder days were ahead. 


Our first freeze of the season was coming.


From the moment I planted that first seed, I had invested so much by way of time and care. I had enjoyed them immensely. So, I decided to give overwintering a try, and it EXCEEDED all expectations. 


The initial preparation was time-consuming, but it was so worth it. And the overwintering process surprised me in how much joy those blooms brought. How much color; how much life; in the dead of winter. 


I had the space.


I had a protected environment. 


I had the IDEAL environment. 


I started with one plan, but you will see how that changed course. It was a change that I never looked back on. 


There are several different methods you can use. I decided to use the container method. It made the most sense for me. I gathered my supplies: loads of 6-inch terra cotta pots (my preference), potting soil made for containers, and garden shears. 


Then, I got busy. And, to be honest, this first step of preparation is by far the most time-consuming. I picked a nice warm day and collected the geraniums from my patio, porches, and garden. Some I transported in their containers, and others I dug up. 

Yoderbilt Greenhouse Geraniums

Yoderbilt Greenhouse Geraniums

Yoderbilt Greenhouse Geraniums

I gathered and inspected the geraniums and decided which ones to keep. If they looked the least bit diseased, I discarded them. Then, I spent time removing them from their containers. I gently removed the dirt from their roots and any damaged leaves, extra stems, leaves, or blooms. Next, any part of the stem that was going under the soil was thoroughly cleaned from leaves and buds. This would aid in not allowing any rot to occur. When you have well over a hundred, this takes a bit of time. 


Although I used the container method - I did different variations within that method. I planted two large urns that were to provide continual starts throughout winter. Those were my primary mother plants. 


Then, I planted a huge number of single plants that I had separated into 6-inch terra cotta pots. I wanted to test their growth in comparison to the same size pot having 2-3 plants. Remember, I removed all extra foliage and blooms (for the most part). This allowed the energy to focus on the root system.

Yoderbilt Greenhouse Geraniums

I found a few "baby" geranium plants within the mother plants. For those, I started in smaller 3-inch pots and potted those into larger ones as winter progressed. It didn't take long; they grew like crazy. 


I had some 2-3 inch branches that broke. I cleaned them well by removing leaves, blooms, etc., and planted them into the soil. I did not use any rooting hormone. 

Yoderbilt Greenhouse Geraniums

Yoderbilt Greenhouse Geraniums
I kept some larger pots that were on my patio. I inspected well and removed the debris, and reconditioned the soil. I made sure I didn't carry in any pests inside the greenhouse. 


I made sure all containers had about an inch of space at the top to allow for watering. I then watered them - thoroughly soaking them and allowing the water to run through. 


The watering process throughout winter was vital. First, I watered to the top of the pot rims. Then, I allowed them to dry out completely. And repeated over and over again.  


All winter long. 


The greenhouse made overwintering easy. The light provided was perfect. I checked them often and watered as needed. I removed any dead foliage. I kept the temperature above 45 degrees. I kept air circulating by way of a fan(s). My greenhouse also has an auto vent, double doors, and windows. Those were open on the days the greenhouse heated up from the sun. I made sure good ventilation was in place. Geraniums can develop mold, and that never became an issue. 

Yoderbilt Greenhouse Geraniums

My initial plan was to keep them in a somewhat dormant state. I didn't expect big gorgeous foliage or deep green foliage. Well, these geraniums had different plans. 


They FLOURISHED. 

Yoderbilt Greenhouse Geraniums

Yoderbilt Greenhouse Geraniums

In a few weeks, they were growing and blooming to the point I had to take a second harvest of new cuttings for starts. This was one month later. So, I had to buy many more terra cotta pots. 


It was a great problem to have. 


On a cool morning within the first month, I walked into the greenhouse, coffee in hand, and was greeted by spring in the middle of winter. Pops of color: pink, reds, and salmon. It was then I decided to let them bloom. 


And, bloom, they did. They have given me such joy this first overwintering season. I did begin a diluted half-strength fertilizer of Miracle Grow about once every 4-6 weeks. If I had tried to keep them in a more dormant state, I wouldn't have done that. 


In overwintering, my ultimate goal was to get new starts for propagation in late winter for early spring. But, they gave me so much more. 


Was it worth it? 

Yoderbilt Greenhouse Geraniums


Yoderbilt Greenhouse Geraniums

Yoderbilt Greenhouse Geraniums

100% yes! 


This was my personal experience that I wanted to share, and I hope you enjoy your gardening journey as much I do! 


This post was to explain my overwintering process. I'll make a post soon on starting new plants from cuttings. 


It's been a game-changer too! 


The Journey of a New Yoderbilt Greenhouse Owner, Part 2

Tuesday, March 8, 2022

Mansfield, AR 72944, USA

 It's Delivery Day! 


The wait is hard but so worth it! Our customers often compare it to waiting for Christmas as a child, and I agree wholeheartedly.   


Once your greenhouse is built, Yoderbilt's Customer Service Department will call you for final payment and schedule your delivery. Even though I work for Yoderbilt (as disclosed in Part 1 of this series), their Customer Service is known to be superb. It is foundational for the success of this company and something they are very proud of. 


When you receive that highly anticipated phone call, your prep work should have been completed to avoid any unexpected delays; this includes foundation work, trimming back any overhanging trees, fencing, or gates that need to be temporarily removed, etc. All of which they will go over with your prior.   We did have to trim some trees on our driveway. I will be honest, I thought they were tall enough not to interfere, but after further discussion, they weren't, and we needed to complete that before delivery. 


Trust me...


You will want to be ready when you get that call to schedule. 


So, my greenhouse was finished, and I got a call from the office to schedule. I was also given an approximate time the delivery would occur, and the driver contacted me when he was on his way with a more accurate delivery time.  


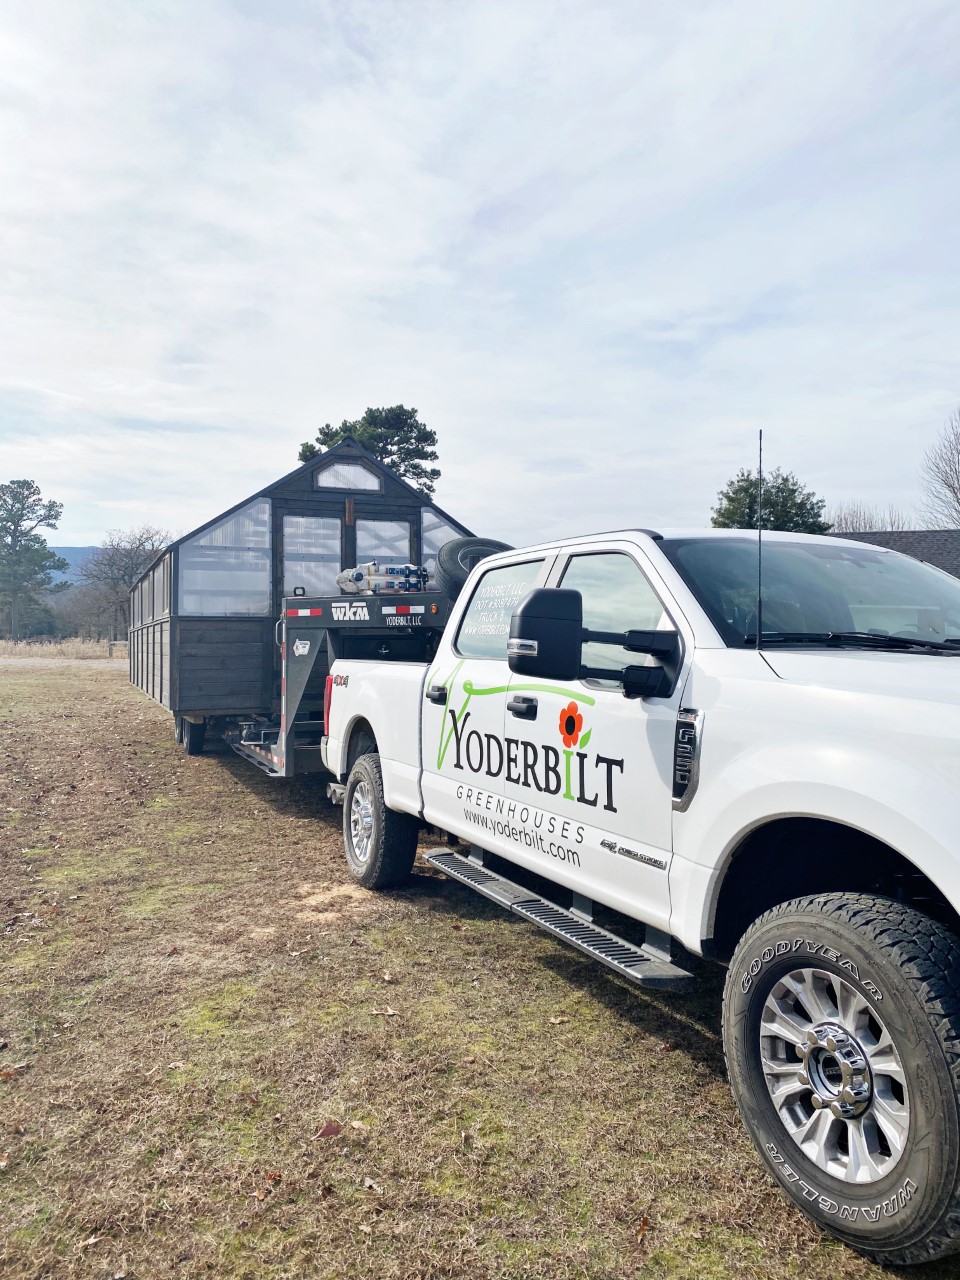
As soon as I could hear the truck on my driveway, I was ecstatic. I knew my gardening game was about to change. A long-awaited dream was coming true right before my eyes.  
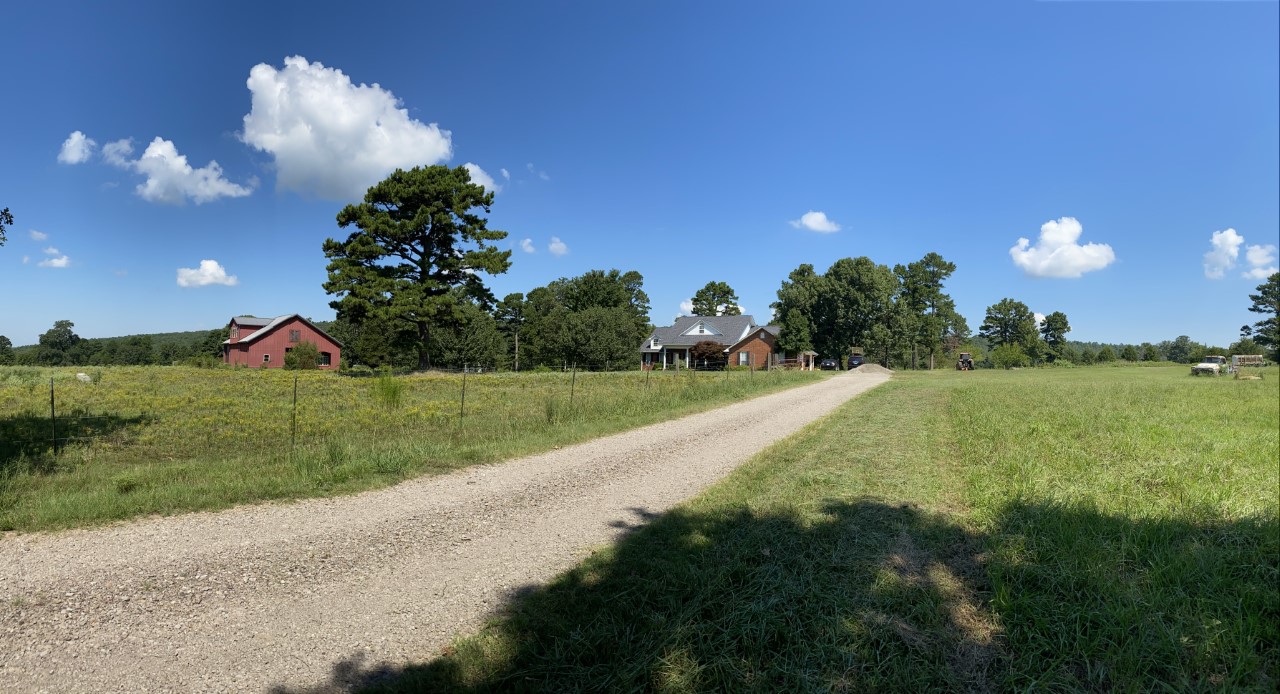
Yoderbilt Greenhouse Delivery

Yoderbilt Greenhouse Delivery

Yoderbilt Greenhouse Delivery

Yoderbilt Greenhouse Delivery

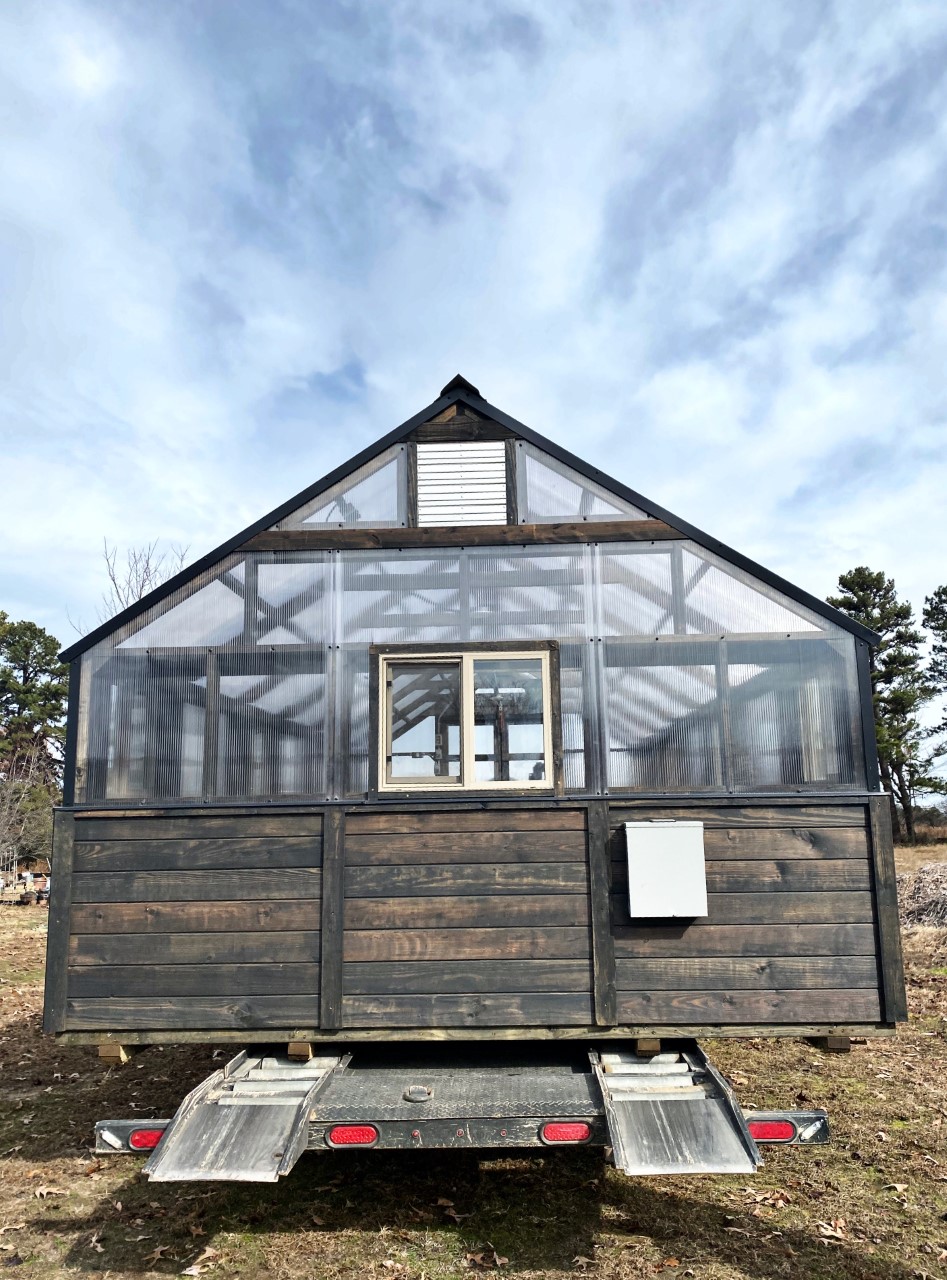
The process of watching them unload and set into place is pretty incredible.   He checked my site, and he was ready to place it. The entire process was quick and uneventful. No leveling was needed, but in some cases, they will need to use some capstones to ensure it is all level before they leave.   Your sales staff will go over all that entails and how many capstones to have on hand.  

Yoderbilt Greenhouse Delivery

Yoderbilt Greenhouse Delivery

That was it! The driver went over the greenhouse with me, and he was on his way to his next delivery. I started moving things in as he drove back down my driveway. 

Yoderbilt Greenhouse

Very impressive! The delivery drivers have this down to almost a fine art.  They are some of the most complimented employees of Yoderbilt. 

Powered by Blogger.

Search This Blog

Theme Designed By Hello Manhattan
|

Your copyright

All Rights Reserved Copyright Yoderbilt Designs 2020