Slider

The Journey of a New Yoderbilt Greenhouse Owner, Part 1

Wednesday, May 26, 2021

Hi, this is Shannon - many of you will recognize my name, and many will not.  I have been planning on documenting my first year in my new Yoderbilt greenhouse with all of you.  Everything I did to plan, get the site ready, the ups and the (few) downs of winter, my spring plethora of plants grown from seed, having fresh fruit and vegetables in December, the BIG freeze that hit the south, etc.  However, for the sake of full disclosure, I do work for Yoderbilt, LLC.  Angela (Yoder) and I have been best friends since junior high and started in the same kindergarten class a LONG, LONG time ago, ha!   I'm a professional photographer and, in the summer of 2019, did a styled shoot for their marketing department.  In 2020, I joined the team.  But, everything I write in this blog series will truly be coming from the perspective of a new Yoderbilt greenhouse owner. 

Yoderbilt Greenhouse Vintage Bike

Like so many of you, I have a new greenhouse!  And, along with that greenhouse, very little greenhouse gardening knowledge.  I had dreamed of owning a greenhouse since the age of 12, to be exact.  I have always had a big love of gardening from an early age.  This was cultivated (pun intended) from a combination of spending my earliest years in my beloved grandfather's garden on our family homestead to a sweet elderly couple that lived on a gorgeous farm up the road from me. during my childhood days.   I would spend many summer hours with them tending to their multiple gardens and seeing the fruits of their labors blossom before my eyes.   If I ever went missing, my parents knew just where to find me.  This may or may not have happened more than once.  

In all honesty, I would carry plants and clippings given to me from Mr. Walter down the dirt  road to my house.  But, where to put them?  My mom didn't appreciate them as much as I did. so I had to come up with a plan.  He had a small greenhouse.  I decided to make my own in my dad's metal shop that housed no windows with zero ventilation.  That didn't last long as I quickly fried all of my plants in the summer heat of Arkansas.

Fast forward to 2020 and I decided that was the year I'd make my dream come true. My ONLY regret is that I didn't get one sooner, and that's quite an understatement.   I had planned to order one in the fall, but I decided to get ahead of the fall rush a bit and had it delivered by late summer going into fall.  I was beyond thrilled and even giddy (according to my husband).  But, I also felt a bit overwhelmed and pretty intimidated as I knew I was diving into greenhouse gardening without much knowledge.  

There are very few years in my life when I didn't have a garden of some sort, but a greenhouse was a whole new world.  However, what I had on my side, was Angela and Travis Yoder.  It's never just a purchase with Yoderbilt.  They have a solid reputation of working with you, from that initial phone call when you have questions and a few ideas to ensuring you have the information to get the most out of your greenhouse for years to come.  And, this held true whether I was a Yoderbilt team member or a brand new customer who called after seeing the Yoderbilt greenhouse a friend had.  

Zinnias and butterfly

Here's a glimpse into how it works.  You may be months or years away from purchasing, but have some questions - give them a call. Each and every call is a zero pressure call.   I get a front-row seat to that.  When Angela and I work together, I hear her at her desk on the phone all day long.  Not only is she as sweet as sugar, but she has such a profound knowledge of their greenhouses because she has used her personal one daily for over a decade.   Or, you may be ready to order, but you have a million questions - give them a call.  They will walk you through the process in the easiest way imaginable.   

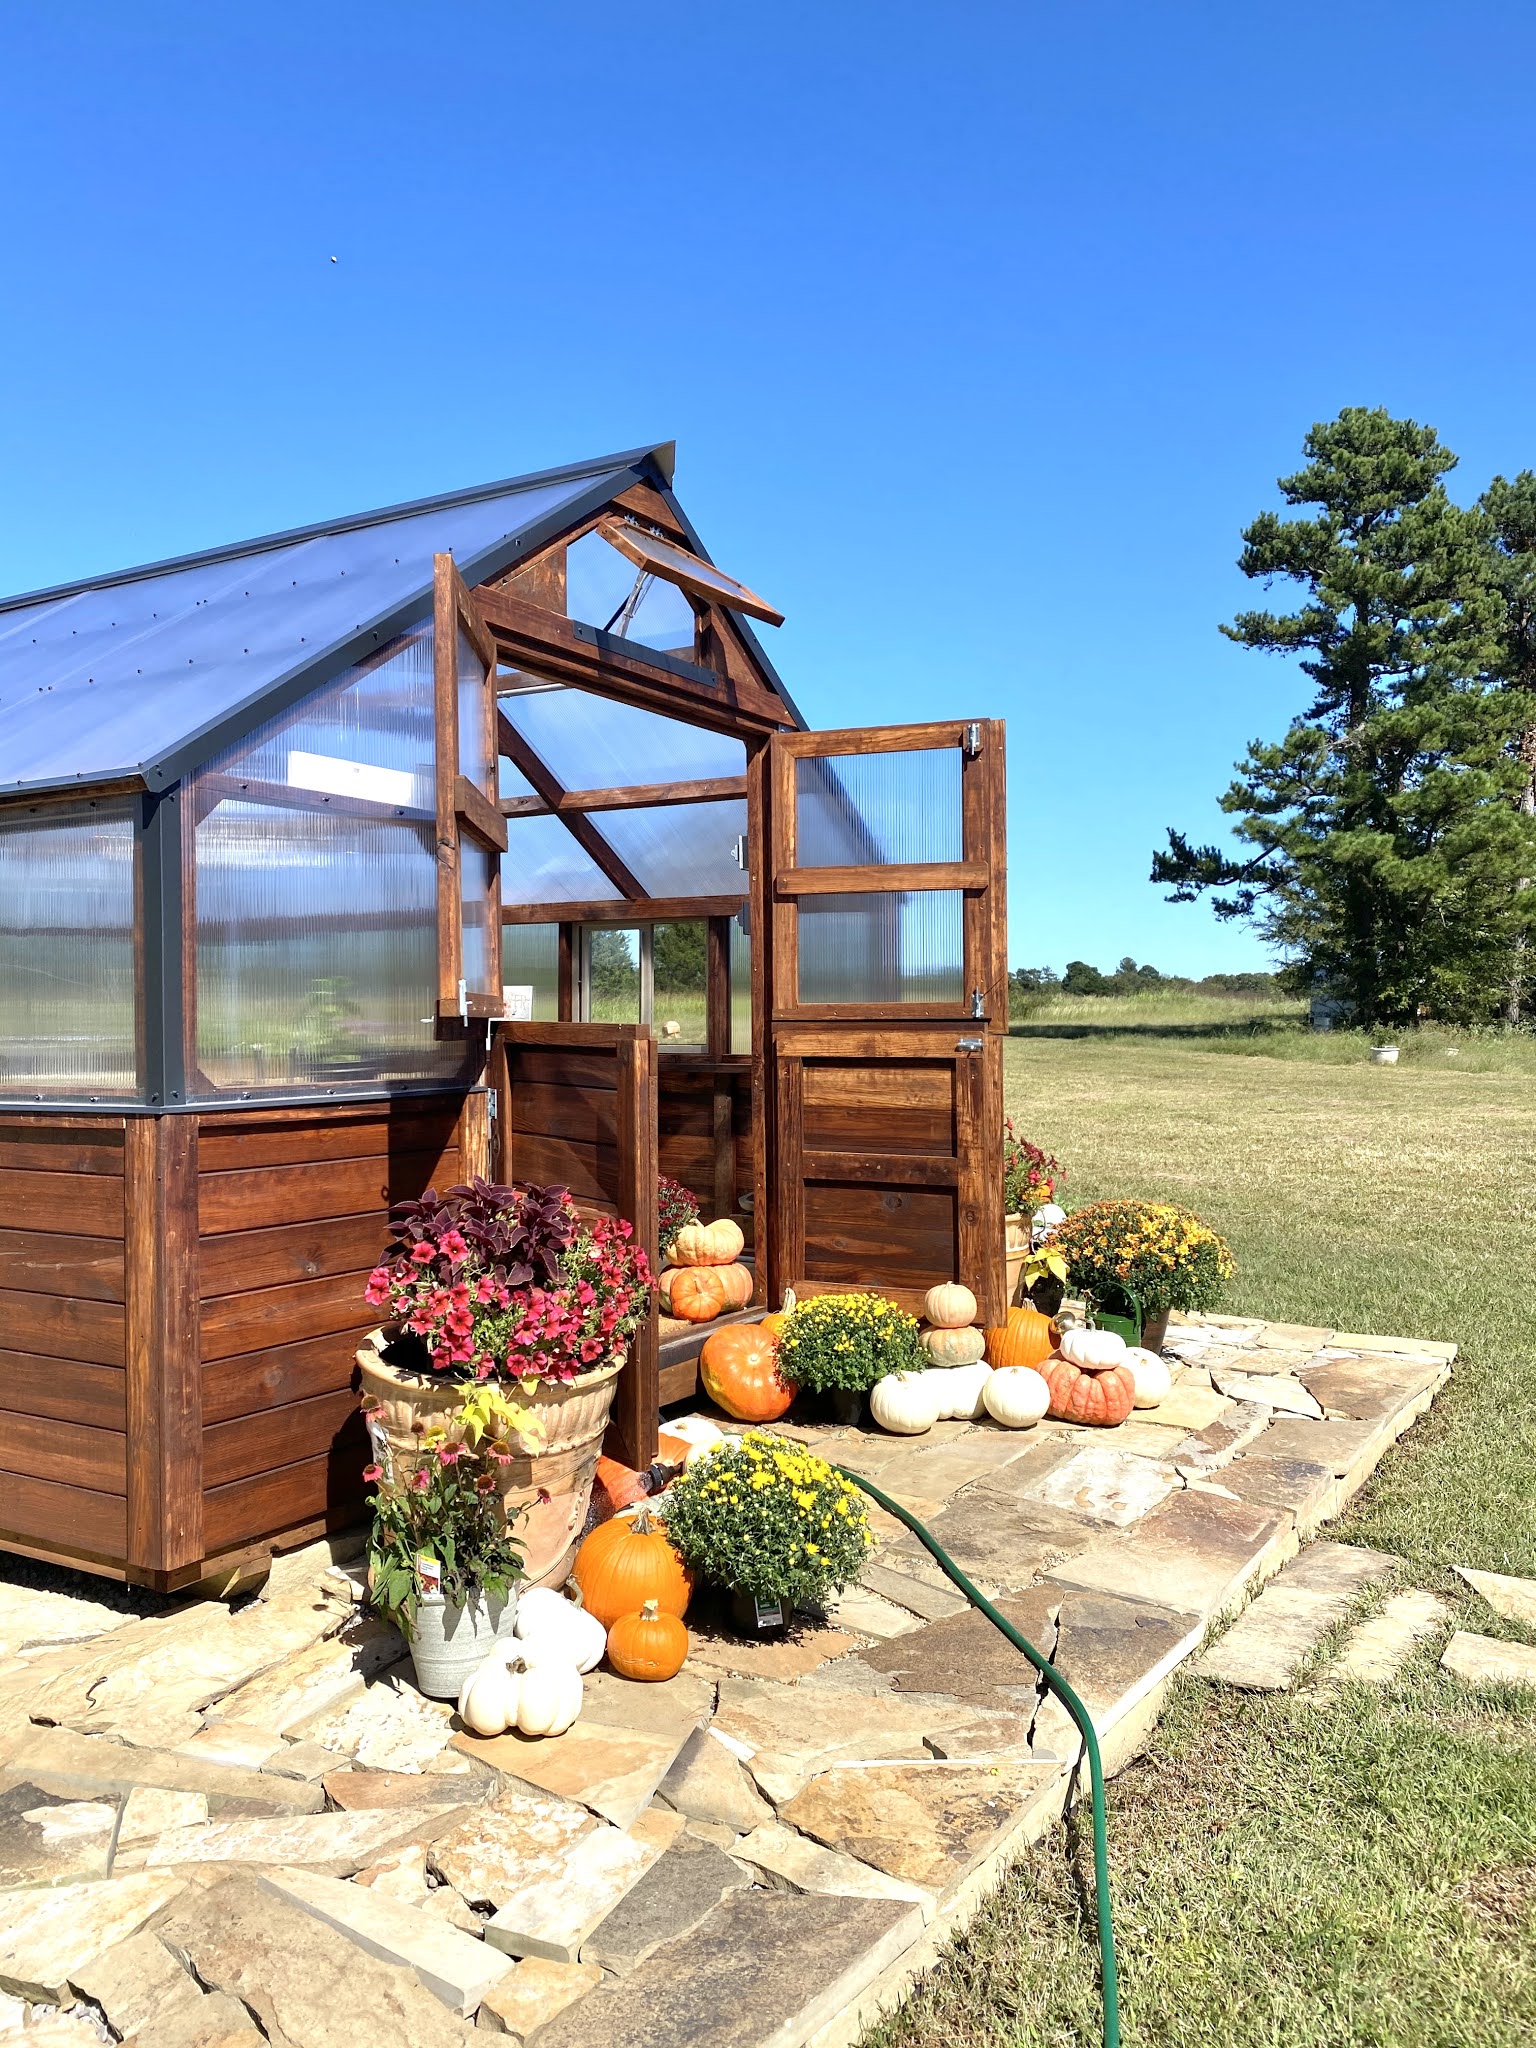
I did add several add-on features to customize it to meet my needs.  I went with a 12x16 Yoder Brown with black trim to match my home.  It sits to the left of my home near the garden and not in my backyard.   I have a double Dutch door and LOVE it so much. It provides enough width for me to use my wheelbarrow in and out the doors.  It also adds a tremendous amount of additional ventilation.  I have an auto vent in the front eve and an exhaust fan in the back eve with the electrical package.  I have four windows (and I do wish I would have added one more to the back wall) as that drafting can help immensely with ventilation.    I did add extra outlets. amps and a chandelier package.  I started with a 3 x 4 island but quickly added the 2x8 moveable shelf, one of my favorite features.  I use it ALL THE TIME. 

Yoderbilt Greenhouse

Yoderbilt Greenhouse

Yoderbilt Greenhouse

Yoderbilt Greenhouse

Yoderbilt Greenhouse

Yoderbilt Greenhouse

Yoderbilt Greenhouse

Yoderbilt Greenhouse

(below - photos of it on the lot in Mansfield, Arkansas before delivery)

Yoderbilt Greenhouse

They make it such a simple process, and after you place your order, you will get busy selecting the site you want it placed (if you haven't already) and your foundation. 

The greenhouses are built with treated runners underneath so they can actually be placed directly on the ground.  However, they have recommendations of preferred foundation prep methods and will walk you through that process, send you videos, etc.   Their customer service is known to be second to none. 

I personally chose a location near my garden that sits in direct sun. I wanted to utilize the most winter sun I could as I knew I would be growing seedlings for my spring and summer gardens.   My double Dutch doors sit facing south.   My garden sits behind the greenhouse in full sun as well.   I will be honest; it wasn't too difficult for me to decide on a location as I wanted it to be a focal point of my garden;  to complement my home, maximize winter sun and be on a relatively flat spot. 

Greenhouse site grass

Greenhouse site grass

From that point, I followed Travis's recommendations on foundation prep.  We thankfully didn't have to have any groundwork done as again, and it was very level.  We did lay down a high-quality weed barrier fabric and had 3-4 inches of clean gravel brought in.  

Foundation

Foundation

We went to a local quarry and purchased flagstone and some block-like flagstone to trim it out once it was in place.   And then we waited, which felt like Christmas!  

stone

Next up, I will take you to delivery day! It was SO exciting and so impressive to watch.

How To Start Seeds Indoors

Wednesday, January 27, 2021

How To Start Seeds Indoors Watering Can

It's January, and we are receiving and pouring over all of the fresh, new seed catalogs! January is exciting to the gardener, as thoughts of starting seeds are definitely swirling in the air!  It truly is the beginning of the gardening season, and even more so if you own a greenhouse.  January is very much about the planning phase.  But some seeds can definitely be started in your greenhouse, with that pace picking up as we progress to spring. 

As easy as it seems to start seeds indoors, there are some key components that, if applied, can help you avoid the frustrations of making some common mistakes.

However, these mistakes are easily avoided if you know how to prevent them. There are SO many benefits to starting your own seedlings that it's totally worth a try! Whether you are ordering specialty heirloom seeds from a well-known company online or picking up a 20-cent pack at a local dollar store, it is worth giving it a go.


Although the benefits are too numerous to list, the two main reasons people start their seedlings are to save money and to grow plants that your local garden center, big-box store, or nursery doesn't carry. 


It opens a whole new world to backyard gardening by saving time and money while enjoying new varieties of some of your favorite plants.  


How To Start Seeds Indoors Watering Can

How To Start Seeds Indoors Watering Can

How To Start Seeds Indoors Watering Can

How To Start Seeds Indoors Watering Can

How To Start Seeds Indoors Watering Can


It can be significantly less expensive to plant your own seeds. You can start plants for pennies compared to 3, 4, or 5+ dollars per plant if you purchased them elsewhere. However, proceed with caution and keep an inventory of what you have. It is relatively easy for a gardener, whether new or seasoned, to get caught up in all the seed varieties and spend quite a lot—just a playful warning and caution.  Because I may know someone who does just that. 


It is also an incredible way to give your garden a tremendous jump start on the season! It usually equates to about a six to eight-week extension of your growing season. This leads to an earlier production and an extended growing season on the backend. 


How To Start Seeds Indoors

How To Start Seeds Indoors

How To Start Seeds Indoors

How To Start Seeds Indoors

How To Start Seeds Indoors

How To Start Seeds Indoors

I have discovered varieties I would have never been able to find locally by discovering the seeds.  Uncommon varieties of your favorite plants are something that is such an added bonus.  It will completely change your gardening experience. 

How To Start Seeds Indoors

How To Start Seeds Indoors

How To Start Seeds Indoors


Many who are new to gardening get very intimidated at the thought of starting their own seeds.  They don't know what to order, what supplies are necessary,  when to start them, etc. 


We can help you with that, so let's get started! 


Now that you have your seeds, you must follow the seed packet instructions on when to start them. Or, at least, at first.  Once you have some experience under your belt, you will start learning when to push the limits, how to make changes that best suit you,  your garden, and more!  


However, a common mistake we see is getting overly excited and planting all of the seeds.  Your lovely packets of seeds arrive, and you plant.  You plant them all without any knowledge of when the last frost date is or when you will need to transplant them. 


You should follow the guide on the seed packet on when to plant indoors, especially at first.  If that particular seed notes to begin indoors 6-8 weeks from your last frost date. Follow that guideline. Determine what your last frost date is and count the weeks back to start planting. More than likely, you will have different seeds on different schedules awaiting all signs that the last frost has passed. 


  1. It's time to gather all of your supplies. This will include potting soil (potting, not gardening) - preferably a seed starting mix. You will need containers such as seed trays, pots, planters, recycled nursery containers, bottom trays, egg cartons, red plastic cups, etc. You will also need some vermiculite, plant markers, lights, and possibly heat mats. This doesn't require anything fancy; use containers you have and get creative. Each container must have drain holes. If it doesn't, create some. 
  2. Add water into your seed starting mix until it's thoroughly wet but not dripping. A good example is the consistency of crumbly brownie mix. 
  3. Fill your container to the top with soil, and pack the soil down lightly, ensuring there are no air pockets.  
  4. Make holes in each cell using your fingers or a pencil. A general rule is to plant the seed to a depth twice its size in width. Don't plant them too deeply, as they will need "light" to germinate well. 
  5. Place 1-2 seeds into each cell packet or hole/indentation. 
  6. Cover the planter very lightly with vermiculite or a dusting seed starting mix, making sure all seeds are covered per seed packet instructions.  Some seeds will require no covering.  
  7. Label the tray with the plant name and date. This step is so important. You think you will remember, but trust me, by the time everything is planted, you won't.   
  8. IMPORTANT: set the planter of water into a tray with 1-2 inches of water and allow the planter to soak up the water. Watch until the seed trays or plants are moist at the top. Drain off any excess water. Do not water from overhead until the plants have their first set of true leaves. It doesn't take much water force to knock the seeds out of place.  I do mist. However, you must be careful, even with that, as it can dislodge the seeds if the force is too much.   
  9. Plants need warmth to germinate, an average of 70-80 degrees consistently and optimally. Read your seed packets, but generally, you can cover trays with a clear plastic dome or plastic wrap and set them on a 70-degree heat mat or in a warm area that stays 65 degrees or higher. 
  10. Check trays at least every day. Once at least 50% of the seedlings have sprouted, remove the plastic dome lids or plastic wrap and move the seedlings from the heat mat into a well-lit area. After germinating, they may need extra light, depending on your environment. If you do not have adequate light, follow the instructions of your grow lights if utilizing them. 
  11. As you approach the time they will be transplanted into your garden. Begin hardening them off. If you have them in a greenhouse, running a fan daily will help, but you also need to start placing them outdoors under a covered area for several hours a day. Next, you should return them back into their indoor space. Repeat this process for approximately one week.  If you have a Yoderbilt greenhouse, the hardening-off process will likely not take as long.
  12.  Lastly, it is imperative to know your last frost date. Note that this is just an estimate. Watch your weather closely in the 10-14+ days following that date.  Do not plant your garden until you are certain all frost chances are gone. 

Happy Gardening, Yoderbilt friends! 

JANUARY GARDEN TO DO LIST

Monday, January 25, 2021

 January. How did that happen so fast!?!  

Spring Garden Tools

To a gardener, January is often the first signal of upcoming spring. Because of the recent holidays, there are often tasks from December that weren't completed to get carried over into this new month. 


Garden Tools

Raised Garden Beds

Raised Garden Beds


Things will begin picking up pace in January compared to November and December's slower pace because the gardeners can feel that "ticking clock." It is important not to get side-tracked and take advantage of any good weather days to accomplish outside tasks. 

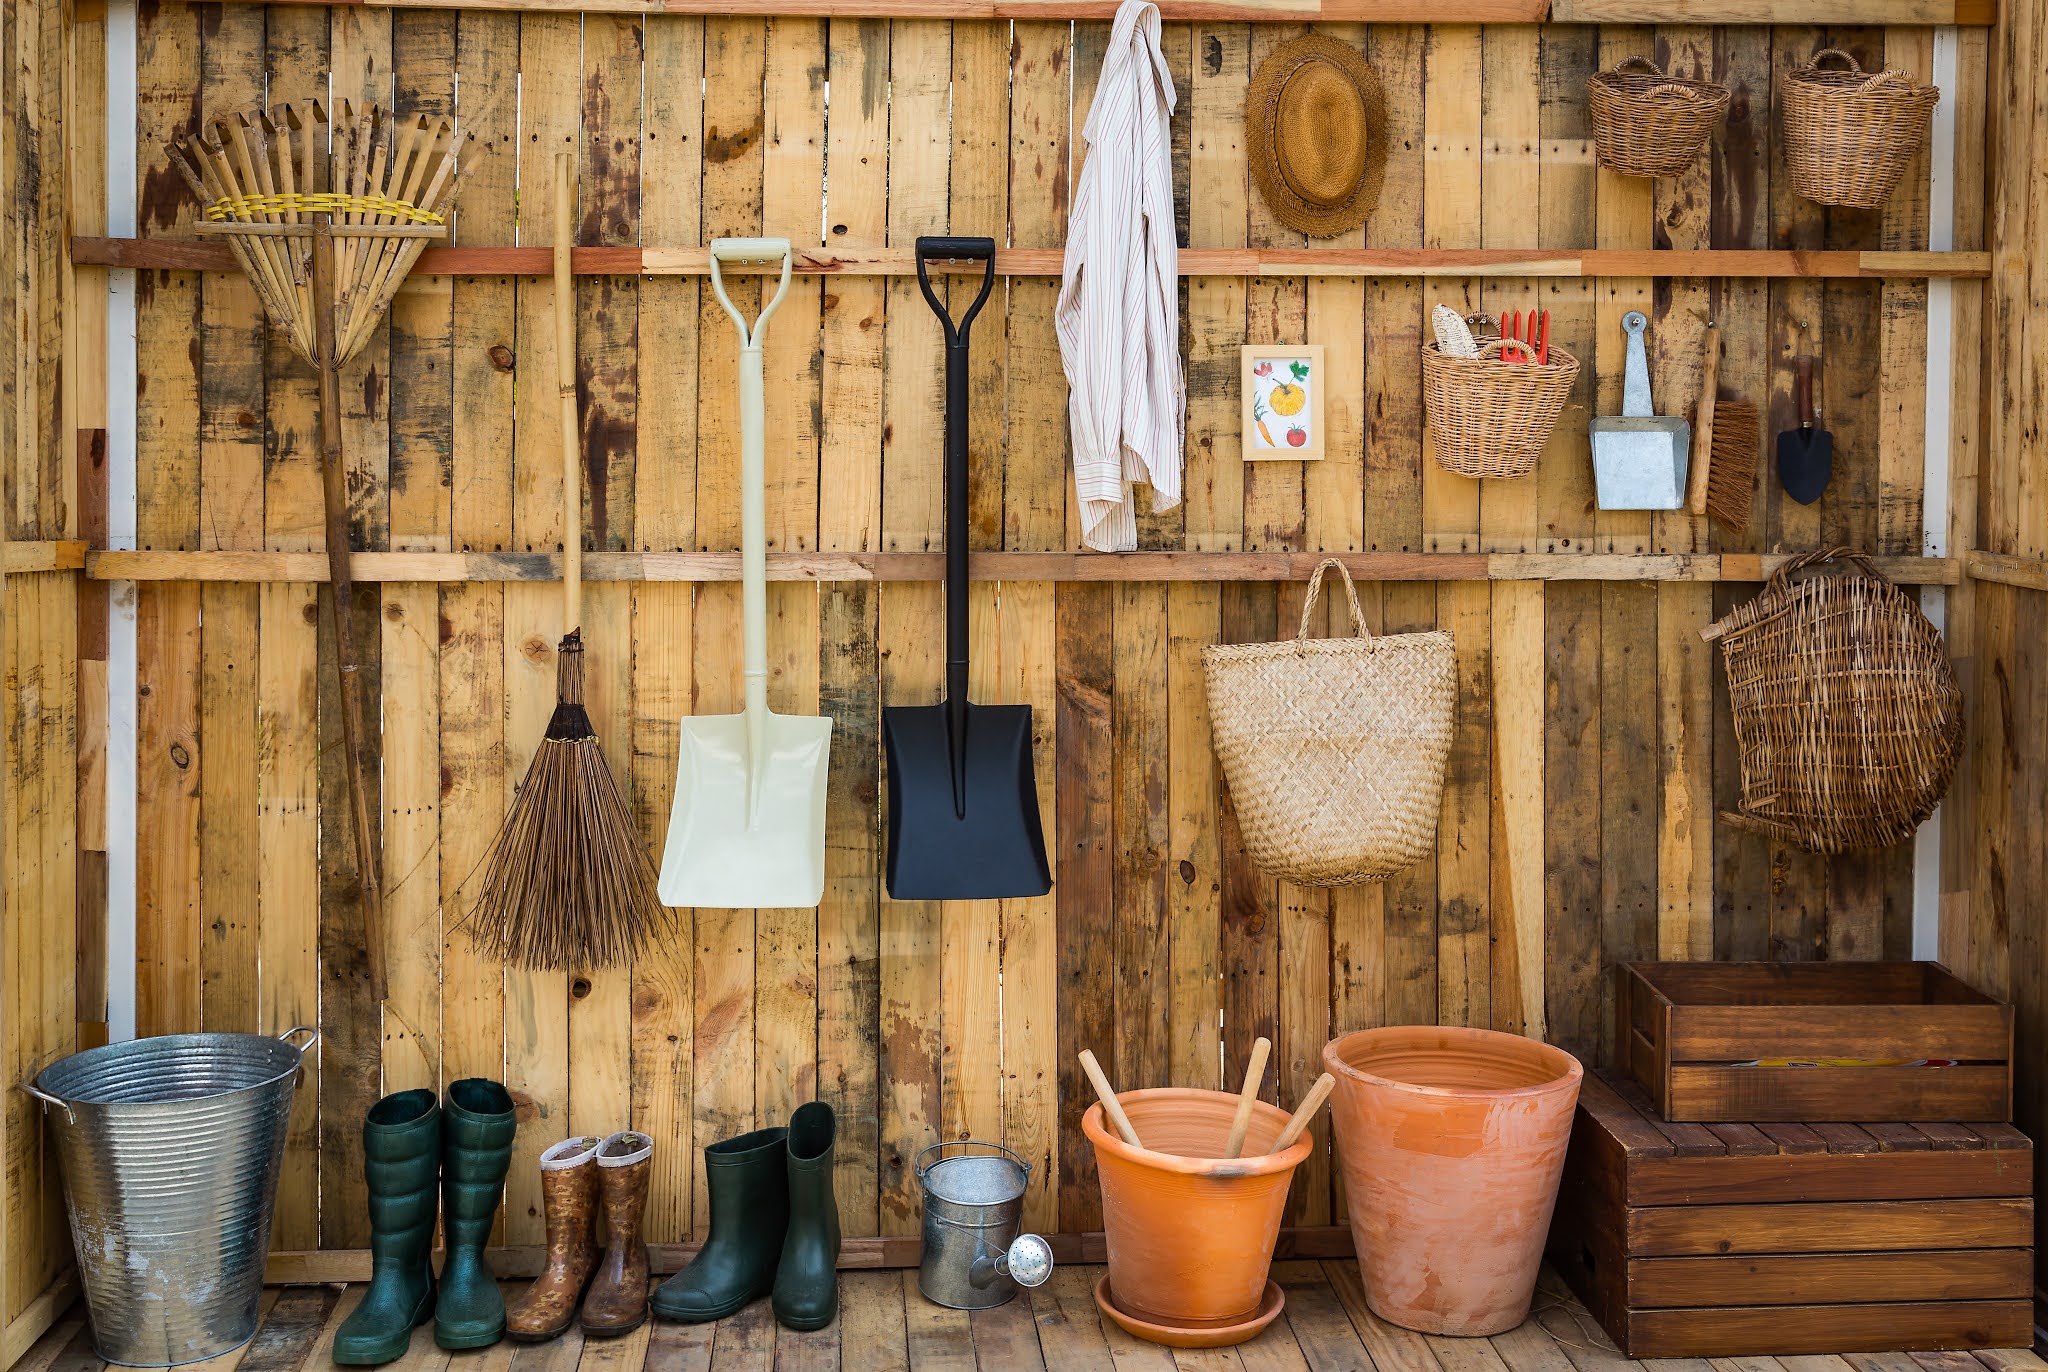
  1. If you haven't already, prep your equipment and tools for next year. This will prevent so much frustration when you are excited to start that garden, and your tool is missing, needs repair, or your equipment won't start. Spring is never a time you want to take your gear to the shop because so many others are as well, and your wait can be long. For any needed replacements, check your local big box/hardware stores as they still may have clearance items from last year. 
  2. If you didn't get all of those leaves raked in fall or early winter, now is the time to gather those to work into the soil or add to your compost pile.   
  3. Your seed catalogs have likely arrived or are arriving daily. Now is the perfect time to dive in. Take inventory of what you have and order what you need. Now is the ideal time as so many seeds will become out of stock quickly. Much quicker than you would think. 
  4. If you didn't in December, go ahead and sketch out any garden additions or revisions and list the material you need to complete the new tasks.  
  5. Purchase any materials and start working on these additions on your warm-weather days. Some common tasks are building new garden boxes, if your ground is not frozen - tilling some of the beds, building any trellis needed, burning holes into your landscape fabric for seedlings. Knock as many of those activities as possible now before you get so busy with garden season. 
  6. Continue to turn over your compost pile.  
  7. If you don't have a composter or compost pile, now is the time to order one or build one.  It will be such a wonderful, nutrient-rich addition to your garden soil. 
  8. Plan your garden for the year - determine whether to scale up or down. 
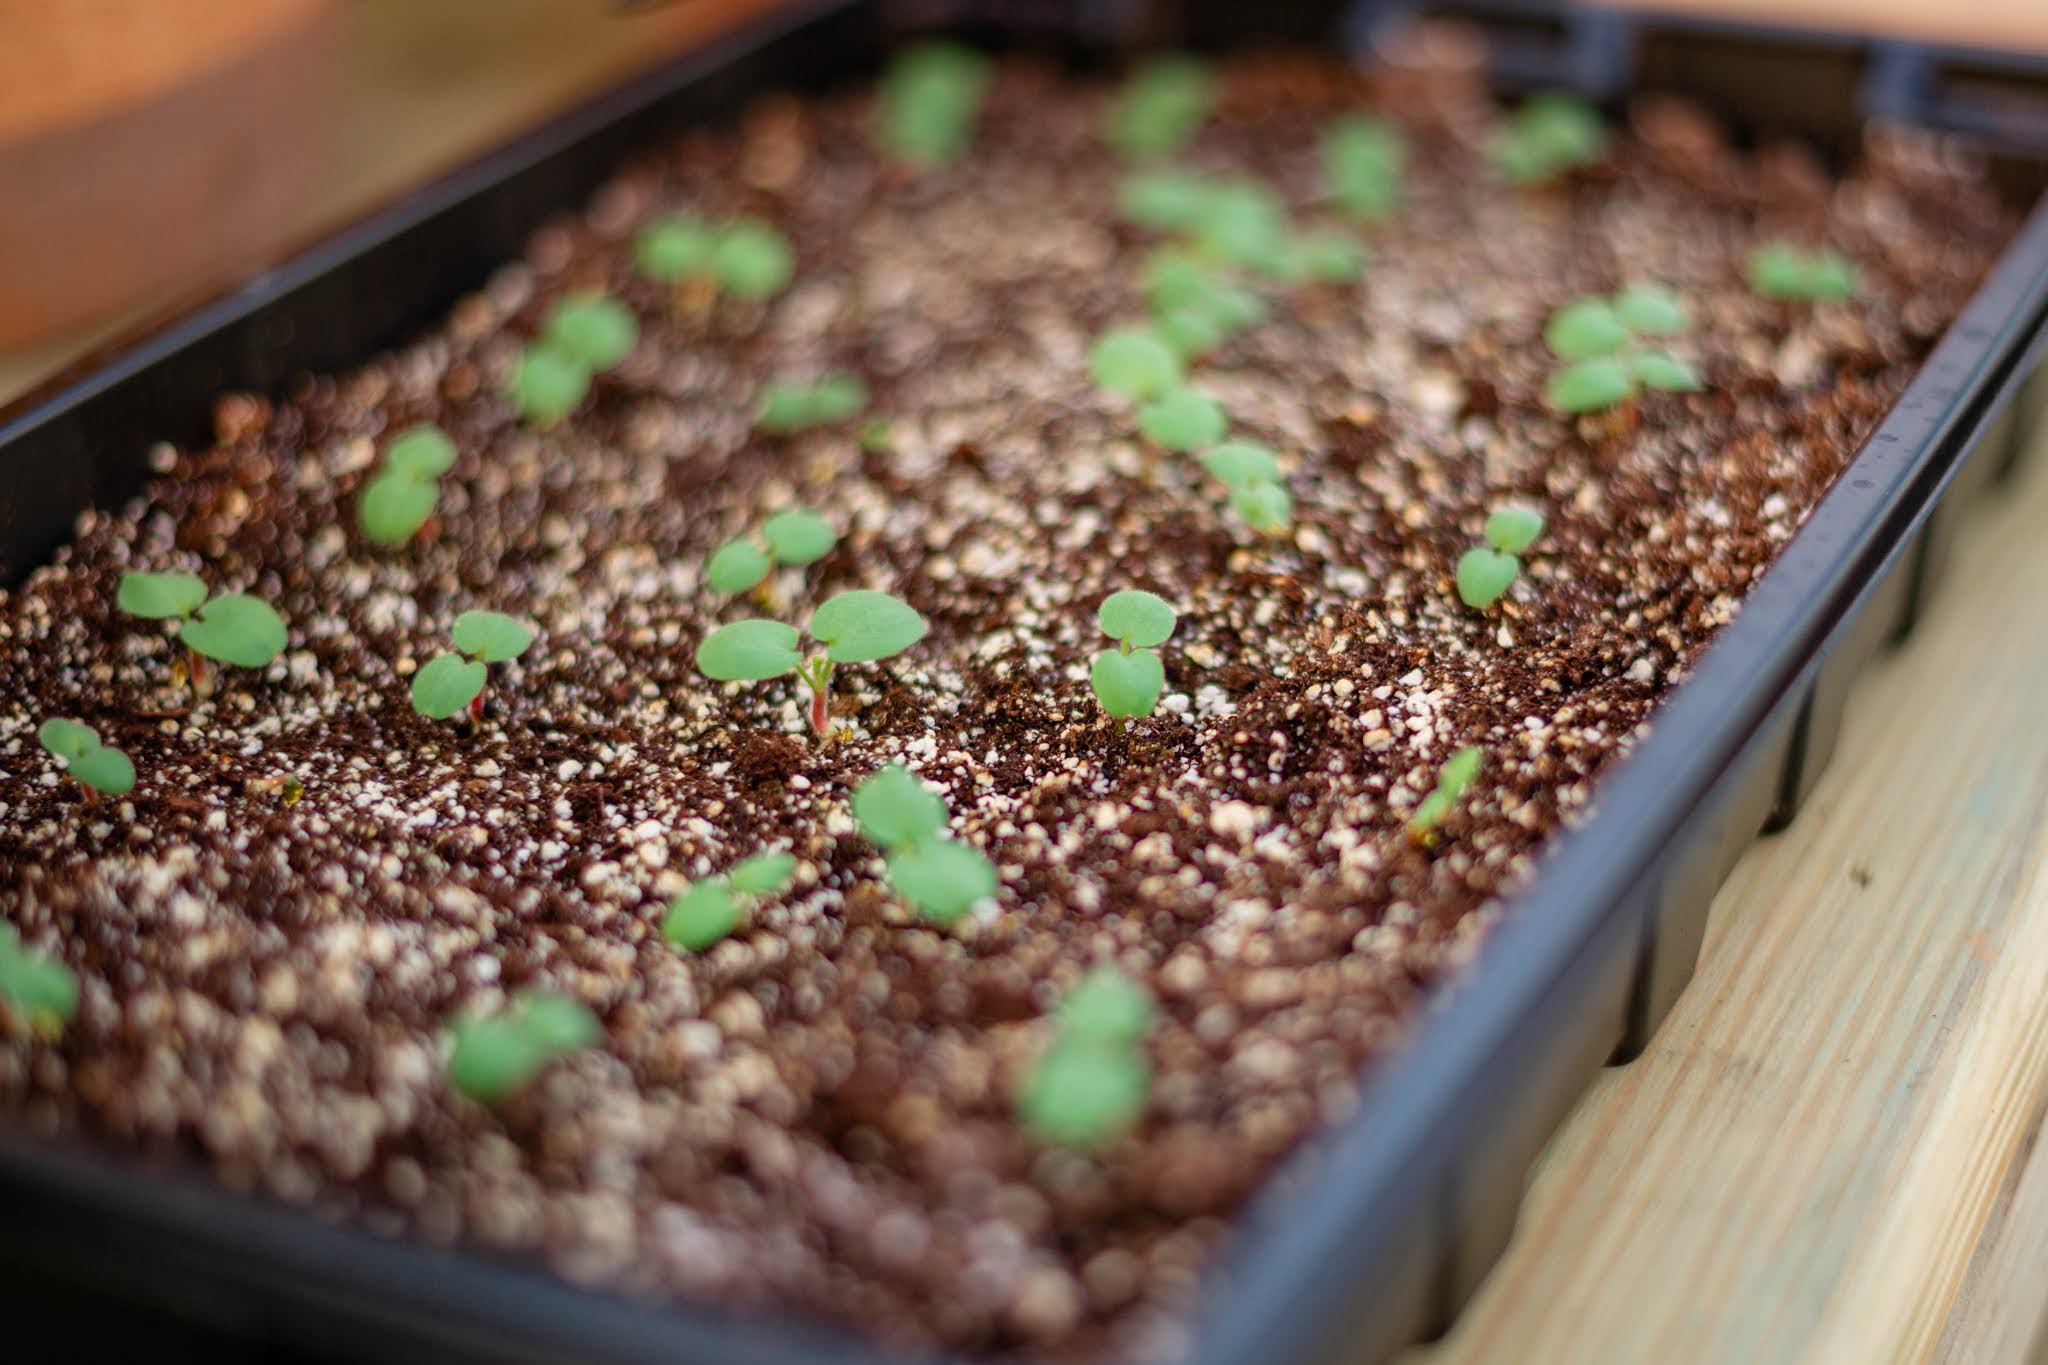
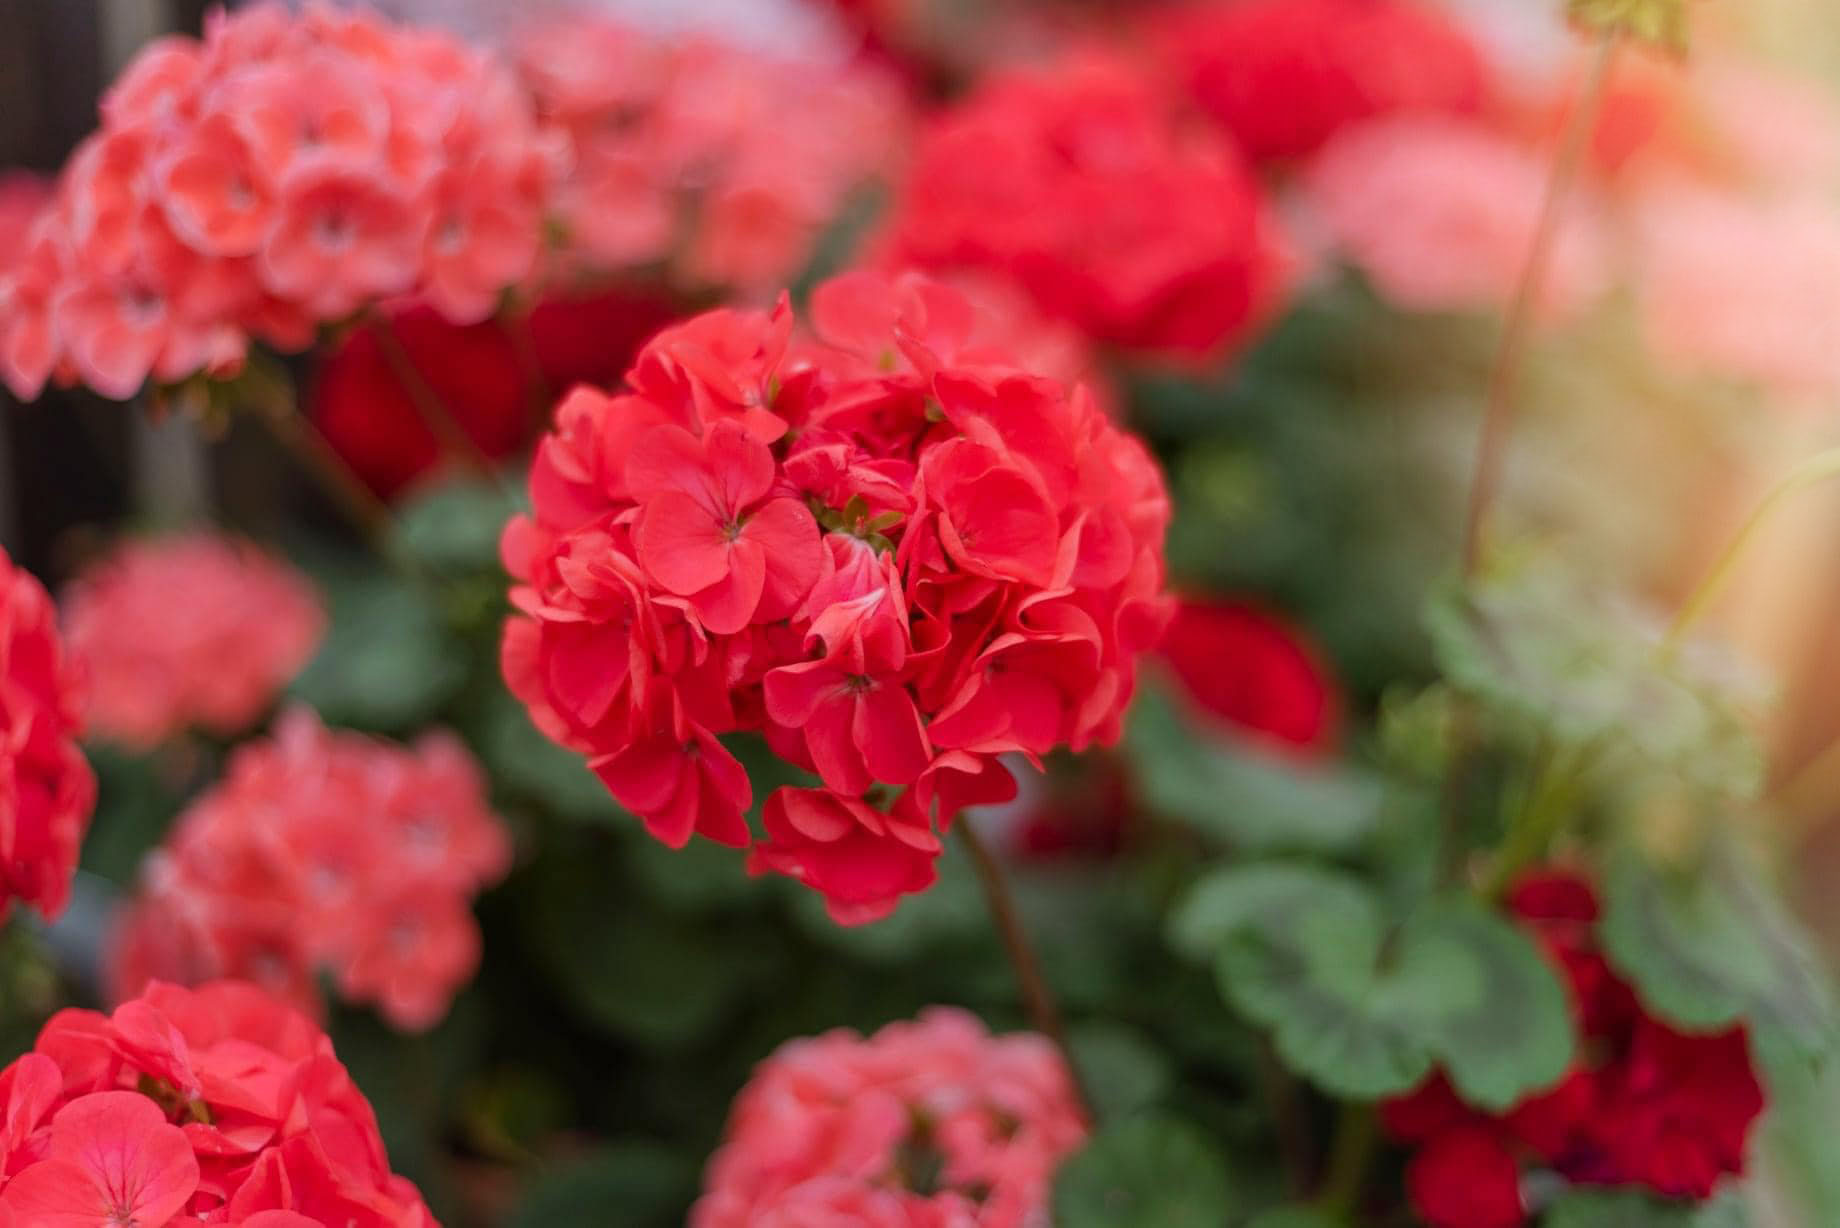
  9. Plant any seeds that can and should be started inside. Follow the seed instructions. For example, I currently have geraniums and Lisianthus growing in my greenhouse. Both are slow growers and should be ready after my zones last freeze date. Don't start too early; you do not want to plant anything too early and not be able to transplant it out in the garden when it's ready. 
  10. Compost any of your seeds that are too old to be viable. 
  11. If you have a greenhouse, NOW is the time to get it ready to be a workhorse for you. On a warm day, clear your greenhouse of all old plant material, clean your floors, prepare your tables, check your heat mats, make sure you have an ample supply of seed starting soil...tidy it up and make room for your seedlings.    
  12. Buy bulbs for next fall. It seems strange, but now is the time to order your fall bulbs for NEXT spring. 

Fall leaves for garden

Garden Tools


December Garden To Do List

Wednesday, December 9, 2020


Garden Tools December Garden To Do List

Summer is a somewhat distant memory. 

Our steps slowed a bit in the fall. 


Winter is quickly approaching, but it's no time to hibernate.  


December is the PERFECT time to continue a slower-paced transition into the next growing season. 


 A slowed but steady pace will keep you on track for the seasons to come. Because like so many, we "wake-up," and it's spring with a list a mile long of things that have to be readied, and the frenzy begins. Let's approach it differently this year. By doing these small tasks in December, your spring and summer will go A LOT smoother, and you'll be able to enjoy your garden time so much more.  Which is ALWAYS the goal! 


Garden Tools December Garden To Do List

Garden Tools December Garden To Do List

Garden Tools December Garden To Do List


  1.  It's time to prep your equipment and tools for next year. Cleaning your tools and servicing your equipment will not only prolong their life, but it will prevent a lot of frustration when you are a little late in planting your spring/summer garden, and that tiller won't start. This time of year, the servicing providers are typically a little less busy than in the spring when everyone else also realized their equipment wouldn't start. Also, take this time to replace any tools or equipment that fall into that category. 
  2. If you haven't gathered and mulched your leaves, do this easy and beneficial task before you lose out on the opportunity. Consider utilizing your lawnmower to mulch both large and small amounts of leaves; if you have a lawnmower with a bag, even better. Go ahead and add this to your compost pile or your spring bed.  
  3. Order your seed catalogs. 
  4. Sketch out any garden additions or revisions and list the material you will need to complete the new tasks. 
  5. Continue to monitor any stored bulbs for decay or disease and dispose of any containing signs of the above. 
  6. Add any disease-free garden remnants to your compost pile and continue to turn it over the next months. 
  7. Forage and make holiday decorations. 


Garden Tools December Garden To Do List


Greenhouse Auto Vents

Tuesday, October 6, 2020

 Automatic vents are a favorite of greenhouse gardeners!  But, early on, many are unaware that they exist and the advantages to your greenhouse growing experience they provide.   They allow simple automation without the need for electricity. 

Yoderbilt Greenhouse Auto Vents

Within a greenhouse environment, airflow, temperature, and moisture levels are foundational. When seeking out a greenhouse, auto ventilation will (or should) come up in the conversation.  For many, it's the first time they've heard of this option.   When designing your greenhouse, you must keep in mind that adequate ventilation, along with the elements mentioned above, is KEY to your greenhouse's success in keeping your plants healthy and thriving both in cold and warm seasons.  


A quick science lesson behind the dynamics of plant health.  A plant must regulate water and carbon dioxide to remain healthy.   Plants carry on with photosynthesis during the day, which leads to utilizing large amounts of water.  During this process, transpiration occurs, which is similar to evaporation.  It is the loss of water from parts of the plant, especially in the leaves.  It cools the leaves' surface and assists in growth and development, allows the movement of minerals from the soil matter into the plant,  and helps control the plants' temperature.  

Yoderbilt Greenhouse Auto Vents

Yoderbilt Greenhouse Auto Vents

Yoderbilt Greenhouse Auto Vents

Yoderbilt Greenhouse Auto Vents

Yoderbilt Greenhouse Auto Vent

Yoderbilt Greenhouse Auto Vent

As explained, plants maintain their leaf temperature through water movement through the plant and the transpiration (similar to a sweating effect) of the water through the leaf surface.  AIR MOVEMENT over the leaf also produces a cooling effect on the entire plant and helps reduce the risk of the plant drying out.   All vital to a healthy plant life.   


Thus, air movement is critical inside a greenhouse.  That means opening a window(s), a door(s), running a fan(s), having an auto vent(s) in place, or all of the above to assist or maximize this process.  Adequate ventilation is a fundamental aspect of keeping plants healthy and more resistant to pest infestations or disease.  


Thus, auto vents are a great addition to your greenhouse as they do just that.  They open and close automatically.  It is a simple addition that will save you time.  As the temperatures change throughout the day, you don't have to worry about being there to open any vents - they take care of it for you with a simple process.  The cylinders of our vents contain beeswax.  As the temperatures increase, the wax expands, pushing the vent window open, and as it cools and shrinks, the window closes—an extremely simple but beneficial process. 


As the benefits described above are tremendous, there are also benefits one would not necessarily think about. One is vital if you have producing plants, and it is pollination.  Even if you are away for the day or an extended amount of time, the auto vents offer a gateway to pollinators.  It allows them to access the plants as they would with open doors.   They also allow the necessary balance of oxygen and carbon levels that are most important to plant growth.  Besides airflow, the temperature is essential to control and is vital to plant health also.   The easiest way to help manage the greenhouse temperature is to open/close windows, doors, and vents.   Since vents are placed in the highest part of our gables to allow for the most heat to escape, they would be a bit cumbersome to open and close daily if they weren't automatic.  It will enable more freedom away from your greenhouse if you can't get there to open a window or door.  The advantages provided are worth exploring! 


Powered by Blogger.

Search This Blog

Theme Designed By Hello Manhattan
|

Your copyright

All Rights Reserved Copyright Yoderbilt Designs 2020